
The reality of vegan camping
Eating plant-based on the trail isn't about sad salads or low energy. I've found that modern vegan meals are often more flavorful and easier to manage than traditional meat-heavy options. When you're hiking ten miles a day, you need calorie density, and plants deliver that without the weight of heavy coolers.
I often hear concerns about getting enough protein or calories on a vegan diet while camping. These are valid points, but easily overcome with a little planning. The truth is, plant-based foods can be remarkably energy-dense. Think about the caloric punch of nuts, seeds, lentils, and whole grains. Plus, a well-planned vegan menu can be lighter to carry than a meat-based one, giving you a real advantage on the trail.
Beyond personal health, choosing a plant-based approach to camping aligns with a deeper respect for the environment. Reducing our reliance on animal agriculture is one of the most impactful things we can do to lessen our ecological footprint. When we’re out enjoying the beauty of nature, it feels right to minimize our impact. It’s about leaving the places we visit as pristine as we found them.
You don't have to start from scratch. There are plenty of pre-made dehydrated meals available now, and meal planning apps can handle the logistics if you're short on time. It's much easier to be a plant-powered explorer than it was five years ago.
Staples for the camp pantry
Building a solid vegan camping pantry starts with non-perishable staples. The goal is to maximize nutrition while minimizing weight and bulk. Grains are a fantastic foundation. Quinoa cooks quickly and provides a complete protein, while brown rice and oats offer sustained energy release. Consider pre-cooked rice pouches for backpacking to save on cooking time and fuel.
Legumes are your protein and fiber powerhouse. Lentils are quick-cooking and versatile, perfect for soups and stews. Chickpeas and black beans, while requiring longer cooking times, are incredibly satisfying. You can find pre-cooked, vacuum-sealed beans, but dried beans are lighter and more economical. Just remember to soak them before your trip to reduce cooking time.
Don’t underestimate the power of nuts and seeds. They're calorie-dense, providing healthy fats and protein. Almonds, walnuts, sunflower seeds, and chia seeds are all excellent choices. Dried fruits, like raisins, apricots, and dates, offer a natural sugar boost for energy. Shelf-stable plant milks – soy, almond, or oat – can elevate your oatmeal or coffee, but powdered versions are lighter for backpacking.
Electrolytes are often overlooked, but crucial for maintaining hydration and performance, especially during strenuous activity. Look for vegan-friendly electrolyte tablets or powders. Many sports drinks contain gelatin, so read labels carefully. Coconut water is a natural source of electrolytes, though it adds weight. Proper hydration is just as important as proper nutrition.
15 High-Energy Vegan Camping Meals
Now for the fun part: food! Here are 15 vegan camping meals designed to keep you fueled and satisfied on your adventures. I’ve included a quick "ease of prep" rating on a scale of 1-5, with 1 being super simple and 5 requiring more effort.
1. Overnight Oats with Nuts & Seeds (Breakfast): Combine oats, plant milk, chia seeds, and your favorite toppings (nuts, dried fruit) in a jar the night before. Easy prep: 1/5. Ingredients: Oats, plant milk, chia seeds, nuts, dried fruit.
2. Lentil Curry (Dinner): A one-pot wonder! Sauté onions, garlic, and ginger, then add lentils, coconut milk, curry powder, and vegetables. Simmer until lentils are tender. Easy prep: 3/5. Ingredients: Lentils, coconut milk, curry powder, vegetables, onion, garlic, ginger.
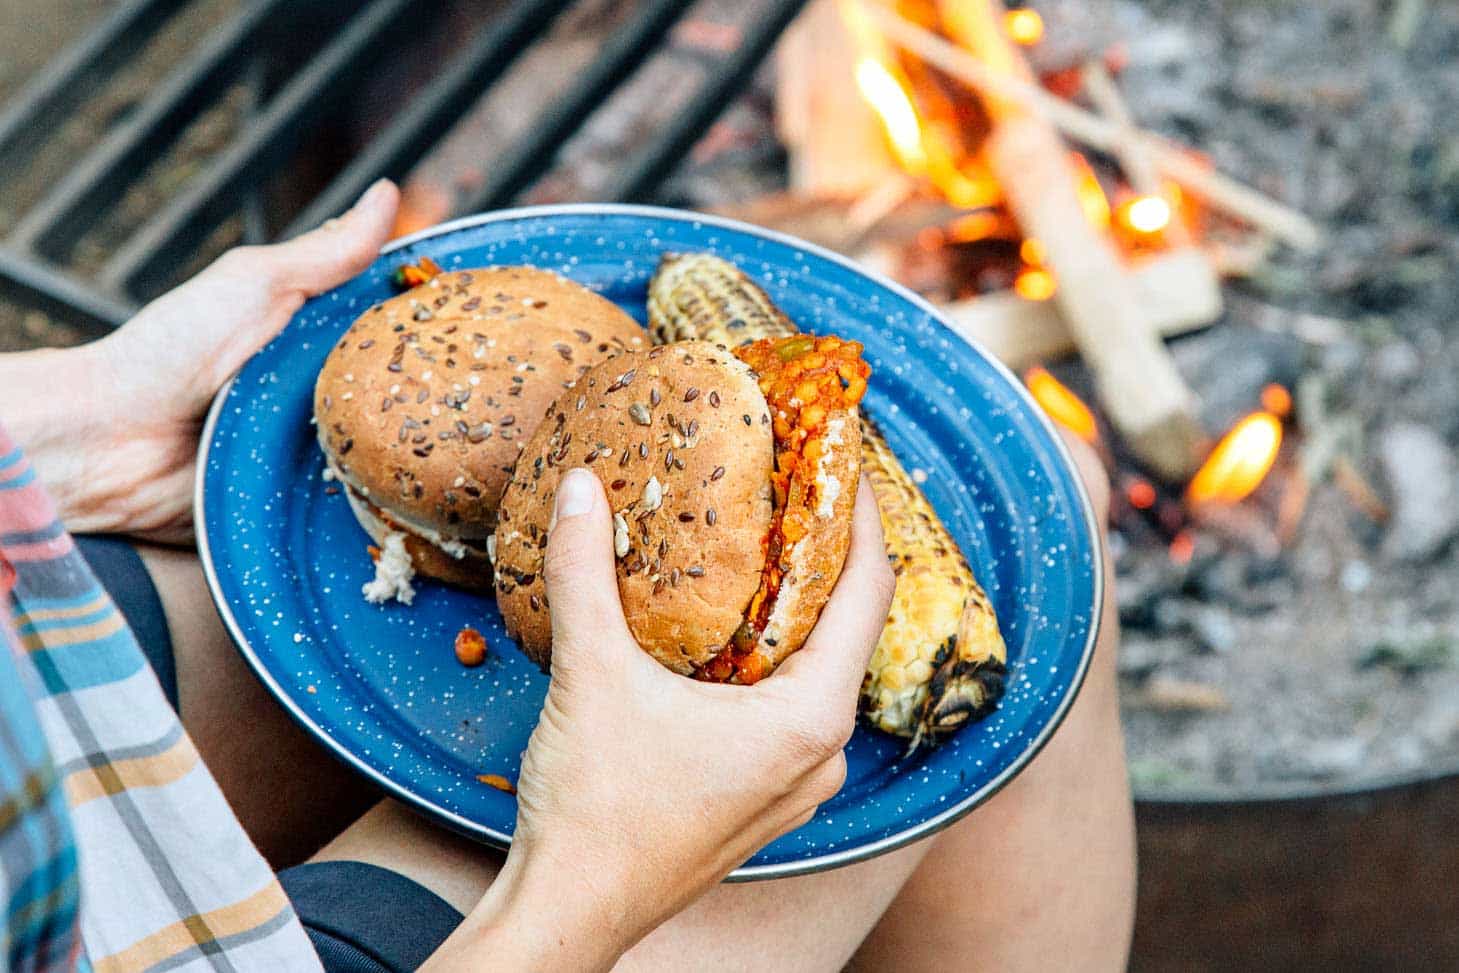
3. Black Bean Burgers (Lunch): Pre-made patties are convenient, or make your own. Serve on buns with your favorite toppings. Easy prep: 2/5. Ingredients: Black bean burgers, buns, lettuce, tomato, avocado.
4. Quinoa Salad (Lunch): Combine cooked quinoa with chopped vegetables, herbs, and a lemon-tahini dressing. Easy prep: 2/5. Ingredients: Quinoa, vegetables, herbs, lemon, tahini.
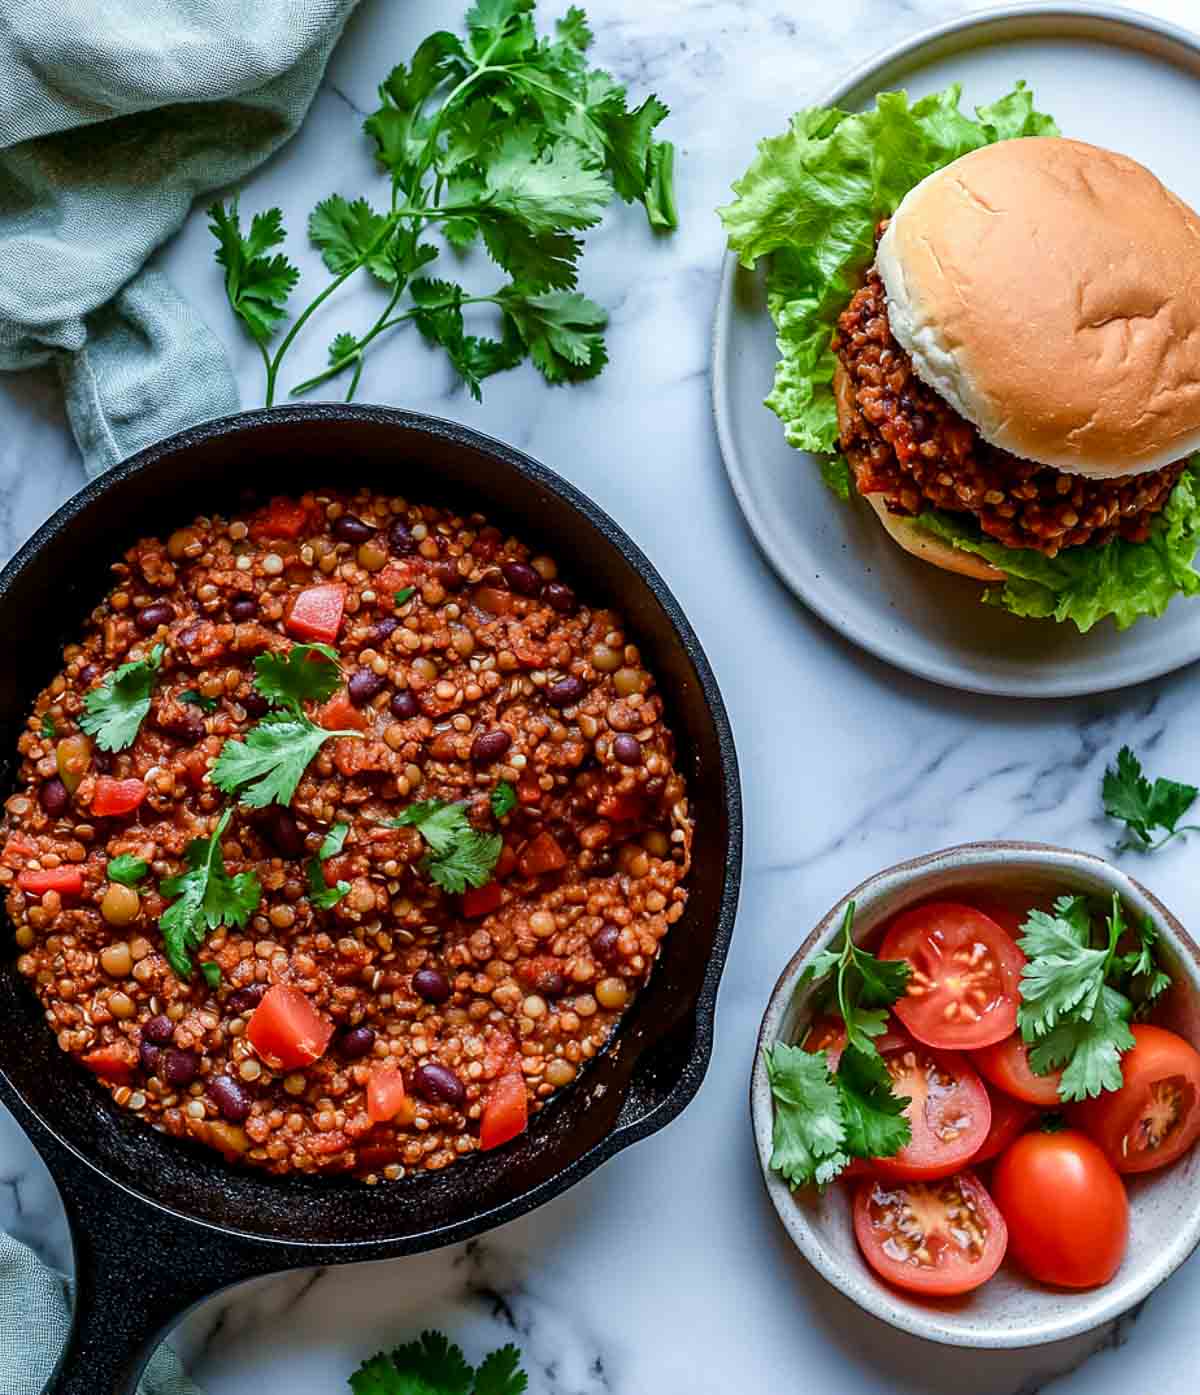
5. Dehydrated Chili (Dinner): Lightweight and easy to rehydrate. Fresh Off the Grid has excellent recipes. Easy prep: 1/5 (after dehydrating). Ingredients: Dehydrated chili mix, water.
6. Peanut Butter & Banana Wraps (Breakfast/Snack): A classic for a reason. Quick, easy, and satisfying. Easy prep: 1/5. Ingredients: Tortillas, peanut butter, banana.
7. Chickpea Scramble (Breakfast): Crumble firm tofu and sauté with chickpeas, onions, and spices for a hearty breakfast. Easy prep: 2/5. Ingredients: Tofu, chickpeas, onion, spices.
8. Pasta with Pesto (Dinner): Use pre-made pesto or make your own. Add some chopped vegetables for extra nutrients. Easy prep: 2/5. Ingredients: Pasta, pesto, vegetables.
9. Trail Mix (Snack): A blend of nuts, seeds, dried fruit, and vegan chocolate chips. Easy prep: 1/5. Ingredients: Nuts, seeds, dried fruit, vegan chocolate chips.
10. Energy Balls (Snack): Combine oats, nut butter, dates, and seeds in a food processor. Roll into balls. Easy prep: 2/5. Ingredients: Oats, nut butter, dates, seeds.
11. Backpacking Oatmeal (Breakfast): Instant oatmeal with added nuts and seeds. Lightweight and quick. Easy prep: 1/5. Ingredients: Instant oatmeal, nuts, seeds.
12. Couscous with Roasted Vegetables (Dinner): Couscous cooks quickly with just hot water. Add roasted vegetables for a flavorful meal. Easy prep: 3/5. Ingredients: Couscous, vegetables.
13. Dehydrated Shepherd’s Pie (Dinner): Another great option for backpacking. Requires rehydration. Easy prep: 1/5 (after dehydrating). Ingredients: Dehydrated Shepherd’s Pie mix, water.
14. Vegan Ramen (Dinner): Upgrade instant ramen with added tofu, vegetables, and spices. Easy prep: 2/5. Ingredients: Ramen noodles, tofu, vegetables, spices.
15. Bean and Veggie Burritos (Lunch): Pre-cooked beans and pre-chopped veggies make this a quick and easy option. Easy prep: 2/5. Ingredients: Tortillas, beans, vegetables, salsa.
Lightweight fuel for backpackers
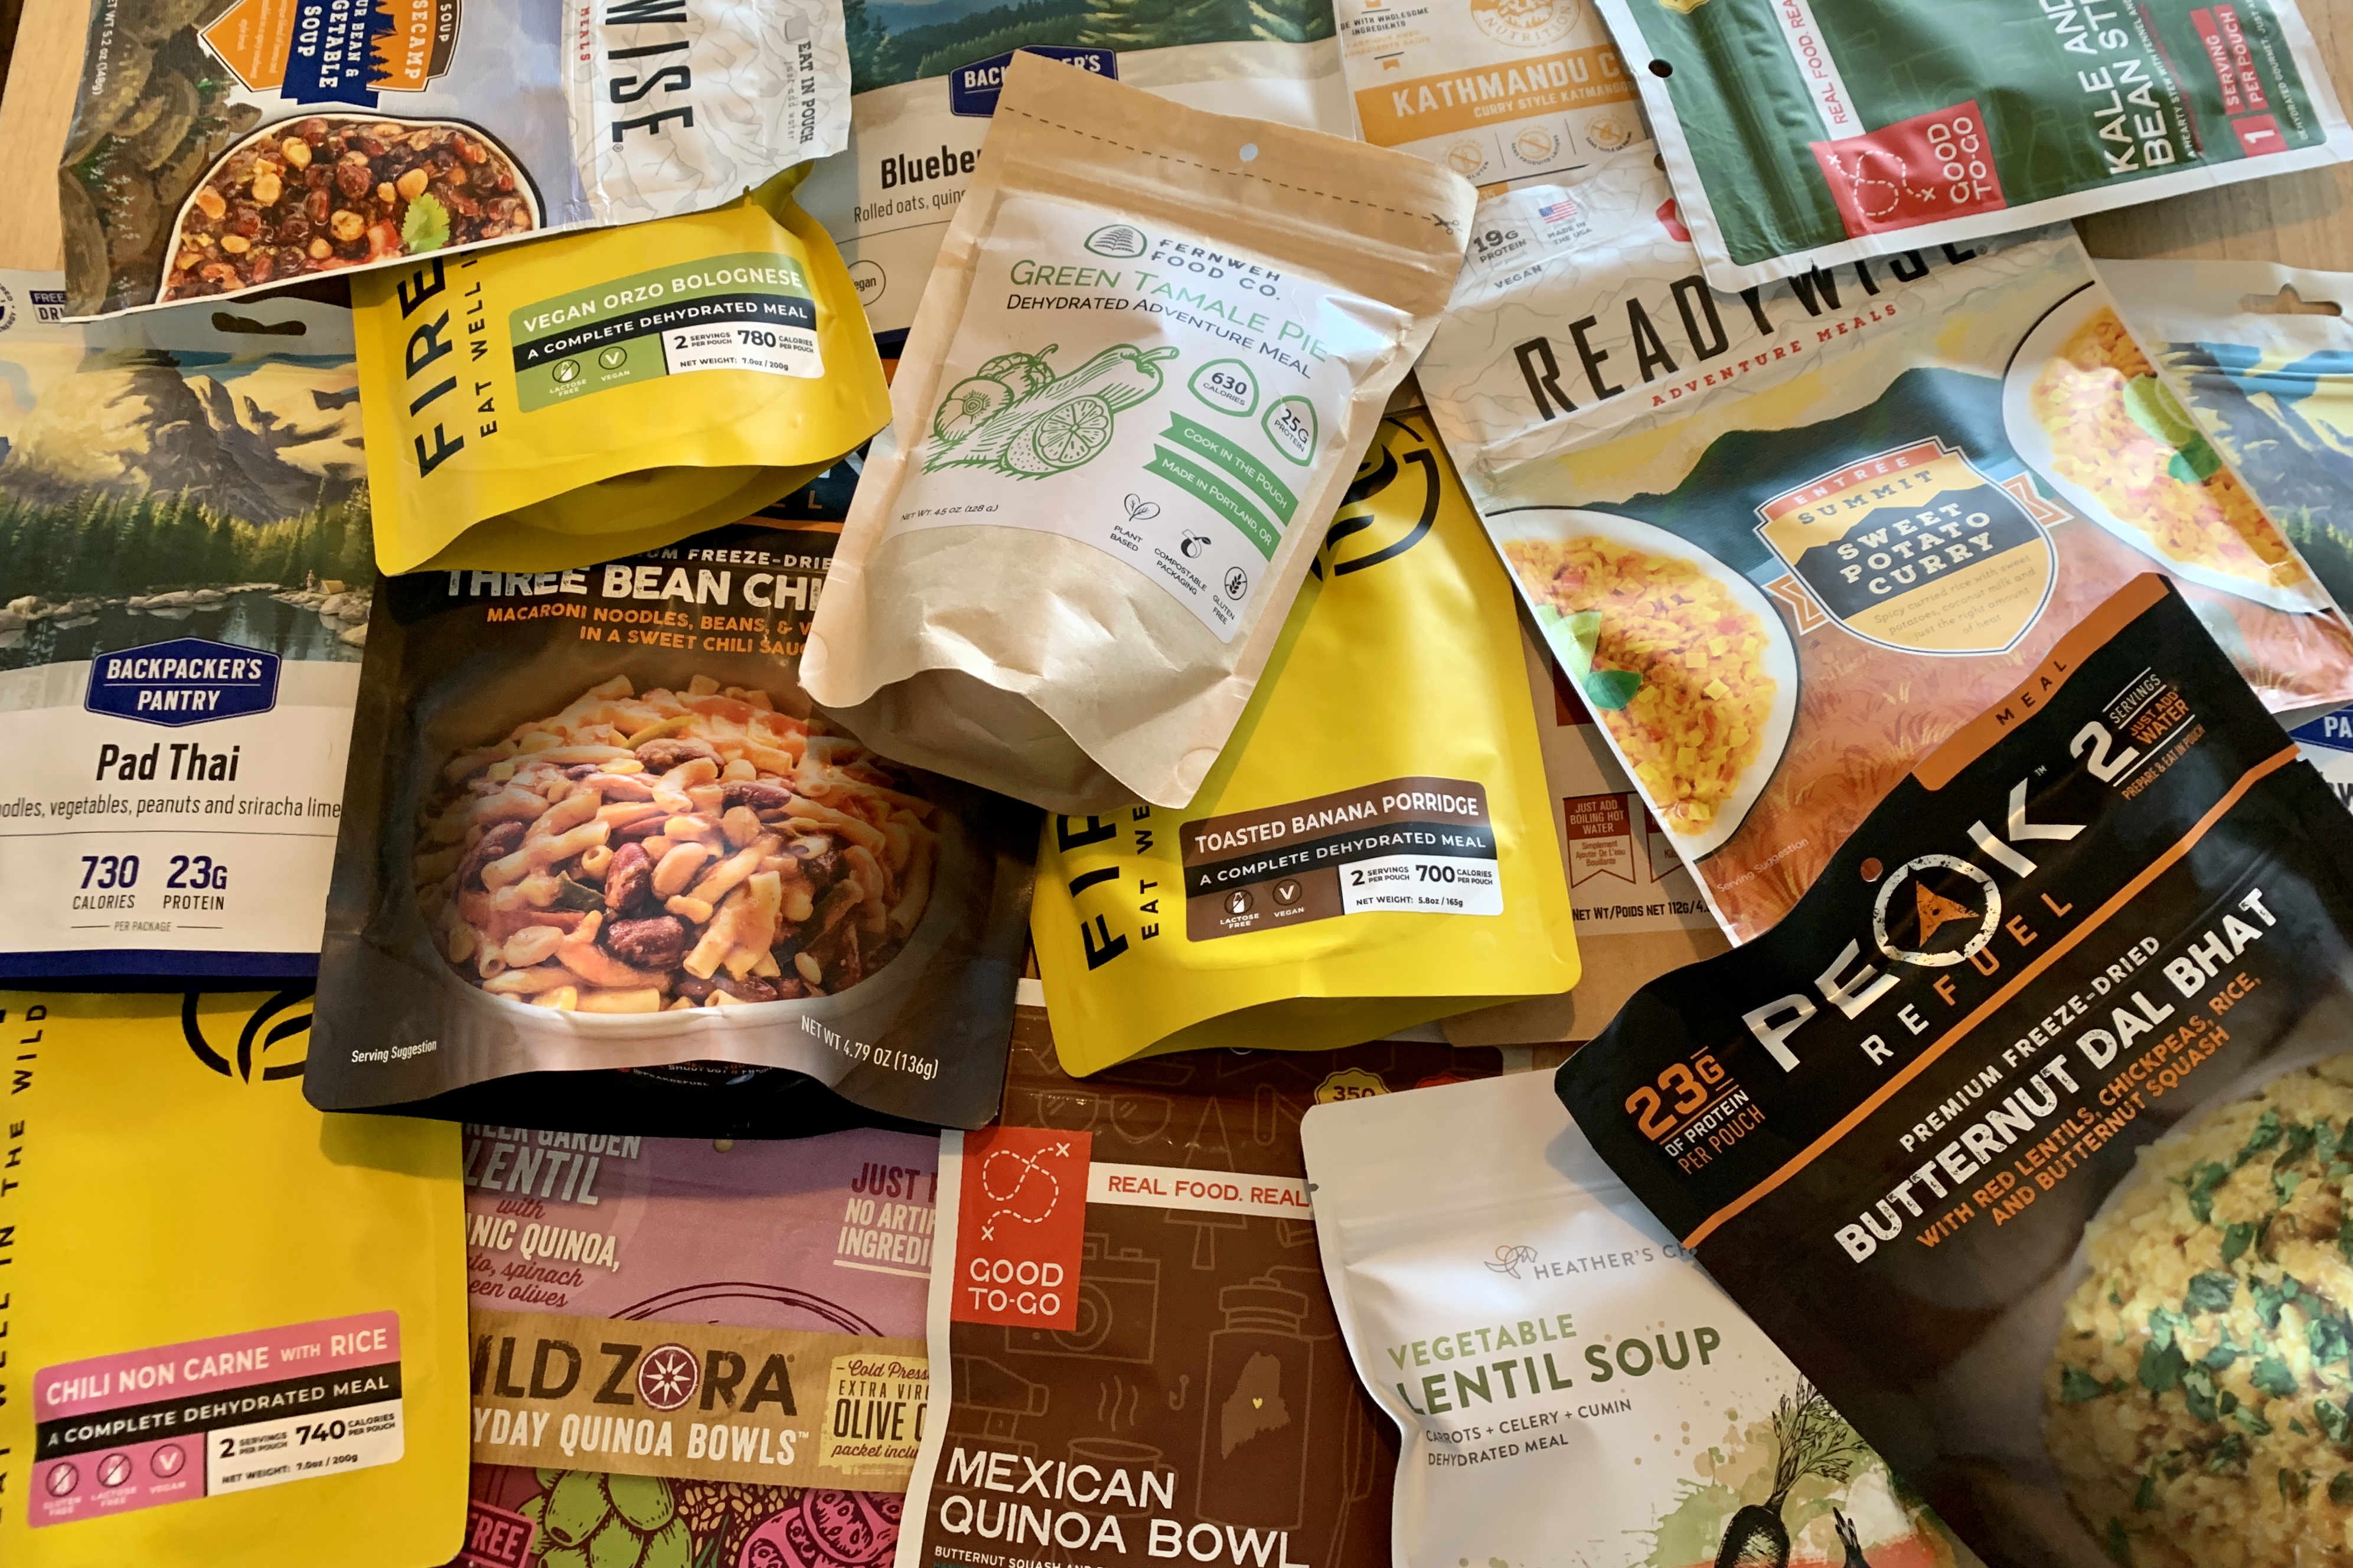
When you’re carrying everything on your back, weight is the enemy. Dehydrating food is the ultimate way to reduce bulk and save space. You can dehydrate almost anything: fruits, vegetables, soups, stews, even complete meals. A dehydrator is a worthwhile investment for serious backpackers.
If you’re new to dehydrating, Fresh Off the Grid offers comprehensive guides and recipes. Alternatively, many companies sell pre-made dehydrated vegan meals. These are convenient, but can be expensive. Look for brands that prioritize whole food ingredients and avoid excessive additives.
Focus on calories per ounce. I aim for 2,500 to 3,500 calories a day when I'm moving. Nut butters and seeds are the easiest way to hit those numbers without blowing out the weight of your pack.
Snack ideas for the trail include energy balls, trail mix (with a good balance of carbs, protein, and fats), and single-serving packets of nut butter. Consider electrolyte chews or tablets to replenish lost minerals.
Keeping food safe
Protecting your food from animals – and keeping it safe for consumption – is paramount. In bear country, a bear canister is often required. These hard-sided containers prevent bears from accessing your food. If canisters aren’t mandatory, a bear bag hung properly from a tree is another option, but it requires skill and knowledge of proper hanging techniques.
Even without bears, proper food storage is essential. Warm temperatures can accelerate spoilage. Keep perishable items cool by storing them in a shady spot or burying them in a cold stream (ensure they’re waterproofed!). Avoid leaving food unattended, even for short periods.
Safe water is non-negotiable. Always purify water from natural sources using a filter, purification tablets, or by boiling it for at least one minute. Giardia and other waterborne pathogens can ruin your trip. Carry enough water for the first leg of your journey and plan your route around reliable water sources.
Finally, practice Leave No Trace principles. Pack out all trash, including food scraps. Minimize your impact on the environment by being mindful of your food waste. Don't feed wildlife – it’s harmful to both them and the ecosystem.
- Use a bear canister or properly hang food in bear country.
- Store food in a cool, shady place.
- Purify all water from natural sources.
- Pack out all trash.
Kitchen gear that works
A well-equipped kitchen makes vegan camping much more enjoyable. The basics include a pot and pan, a spork (or fork and spoon), a stove, fuel, a water filter, food storage containers, and cleaning supplies. Lightweight options are crucial for backpacking.
Cookware made from titanium or aluminum is lightweight and durable. Collapsible pots and pans save space. Sporks are a versatile utensil that minimizes the need to carry multiple items. A good water filter is essential for accessing safe drinking water. Sawyer filters are a popular and reliable choice.
Stoves come in various types: gas, alcohol, and wood-burning. Gas stoves are convenient and offer precise temperature control, but require carrying fuel canisters. Alcohol stoves are lightweight and simple, but burn less efficiently. Wood-burning stoves are sustainable, but may be restricted in some areas.
Invest in reusable food storage containers to reduce waste and keep your food organized. Silicone bags and collapsible containers are lightweight and packable. Don’t forget biodegradable soap and a scrub brush for cleaning dishes.
Meal Planning & Prep: A Week Before You Go
Successful vegan camping hinges on thoughtful meal planning. Start by creating a detailed shopping list based on your chosen recipes. Consider the shelf life of ingredients and prioritize non-perishable items.
Prepping ingredients at home saves time and effort at the campsite. Chop vegetables, measure out spices, and portion out snacks into individual bags. This minimizes cleanup and simplifies cooking.
Pack food efficiently, using reusable containers and minimizing packaging. Group meals together to streamline cooking. Consider vacuum-sealing food to extend its shelf life and reduce bulk. A little pre-trip organization goes a long way.
Here’s a sample meal plan for a 3-day camping trip: Day 1: Breakfast - Overnight Oats, Lunch - Quinoa Salad, Dinner - Lentil Curry. Day 2: Breakfast - Chickpea Scramble, Lunch - Peanut Butter & Banana Wraps, Dinner - Dehydrated Chili. Day 3: Breakfast - Backpacking Oatmeal, Lunch - Bean & Veggie Burritos, Dinner - Pasta with Pesto.
Choosing the Right Food Storage Method
| Method | Weight | Cost | Effectiveness (against bears) | Ease of Use | Best For |
|---|---|---|---|---|---|
| Bear Canister | 2-7 lbs (depending on size) | Generally $80 - $200+ | High - Required in many areas | Moderate - Requires practice opening/closing | High bear activity areas, areas with mandatory canister requirements |
| Bear Bag | 8-24 oz (bag itself) + rope weight | Relatively low - $20 - $50 for bag and rope | Moderate to High - Dependent on proper hanging technique | Moderate - Requires finding suitable trees and proper knot tying | Areas with moderate bear activity, experienced backpackers |
| Hard-sided Cooler | Variable - 8-20+ lbs (empty) | Variable - $50 - $300+ | Low - Bears can easily break into coolers | High - Easy access to food | Car camping, short trips, areas with low bear activity |
| Ursack | 13-32 oz (depending on size) | Approximately $120 - $250+ | Moderate to High - Requires specific deployment and is not universally accepted by park services | Moderate - Requires learning proper deployment techniques | Backpacking in areas where bear canisters are not required but bear resistance is needed |
| Odor-Proof Bags | 2-4 oz per bag | Low - $10 - $30 for a set | Low - Only reduces odor, doesn't physically protect food | High - Simple to use | Supplement to other methods, minimizing odor |
Illustrative comparison based on the article research brief. Verify current pricing, limits, and product details in the official docs before relying on it.


No comments yet. Be the first to share your thoughts!