
Fueling the Long Trail: Vegan Protein Basics
Backpacking is tough on your body. Carrying a heavy load over challenging terrain in unpredictable weather requires serious fuel. Protein is essential for muscle repair, recovery, and sustained energy. It prevents muscle breakdown when you're pushing your limits.
For vegans, getting enough protein on the trail can seem tricky. The myth that plant-based protein isn't 'complete' or as absorbable as animal protein is mostly false. Combining different plant sources throughout the day provides all the essential amino acids your body needs.
How much protein do you need on a backpacking trip? Individual needs vary, but a general guideline is 0.7 to 1 gram per pound of body weight daily for intense activity. For a 150-pound person, that's about 105 to 150 grams. Focus on consistently including protein-rich foods rather than hitting an exact number.
Top 8 Plant Proteins for Backpacking (2026)
Choosing protein sources for backpacking means considering weight, calorie density, ease of preparation, and nutrition. These eight options consistently make it into my pack.
Soy Products: Textured Vegetable Protein (TVP) is lightweight, affordable, and absorbs flavors well. A quarter cup of dry TVP has about 15 grams of protein and weighs 1.5 ounces. Dried or pre-shelled edamame provides around 18 grams of protein per cup. Rehydrating TVP with bouillon adds flavor.
Lentils: Red lentils cook quickly, minimizing trail cooking time. One cup of cooked lentils has around 18 grams of protein and iron. They're heavier than TVP, but the nutritional benefits are worth it. Lentil stew is a great trail meal.
Quinoa: Quinoa is a complete protein and a backpacking staple. One cup cooked offers about 8 grams of protein and complex carbohydrates. It's relatively lightweight and cooks in 15-20 minutes. Combining quinoa with lentils creates a more complete protein profile.
Chia Seeds: Chia seeds are nutritional powerhouses. Two tablespoons have about 5 grams of protein, healthy fats, and fiber. Add them to oatmeal, smoothies, or make chia seed pudding. They absorb water, aiding hydration.
Hemp Seeds: Hemp seeds are another complete protein, providing about 10 grams of protein per 3 tablespoons. They have a mild, nutty flavor and can be sprinkled on many foods. They're more expensive than some options, but the nutritional benefits are significant.
Pumpkin Seeds: Pumpkin seeds offer around 7 grams of protein and healthy fats per ounce. They're lightweight and easy to pack, providing a quick energy boost when snacked on.
Nuts & Seeds (and Butters): Almond butter and sunflower seed butter are calorie-dense and provide a good amount of protein – around 7-8 grams per two tablespoons. They’re excellent for adding to oatmeal or tortillas. While nuts themselves are protein-rich, they’re also high in fat, so portion control is important. Pea Protein: Pea protein isolate is becoming increasingly popular, and for good reason. It’s highly digestible and a complete protein, offering around 20-25 grams of protein per serving. It’s a great addition to smoothies or can be mixed into oatmeal.
- Soy Products (TVP, Edamame): 15-18g protein/serving
- Lentils: 18g protein/cup
- Quinoa: 8g protein/cup
- Chia Seeds: 5g protein/2 tbsp
- Hemp Seeds: 10g protein/3 tbsp
- Pumpkin Seeds: 7g protein/oz
- Nuts & Seed Butters: 7-8g protein/2 tbsp
- Pea Protein: 20-25g protein/serving
2026's Best Plant-Based Protein Sources for Extended Backpacking Trips
| Protein Density | Calorie Content | Pack Weight | Preparation | Cost |
|---|---|---|---|---|
| Lentils (Dried) | Moderate | Light | Requires Cooking | Very Affordable |
| Quinoa | Good | Moderate | Requires Cooking | Affordable |
| Chia Seeds | High | Low | Minimal - Soak/Add to Water | Moderate |
| Hemp Seeds | High | Moderate | Ready-to-Eat | Moderate to High |
| Peanut Butter (Natural) | Moderate | High | Ready-to-Eat | Affordable |
| Tofu (Dehydrated) | Very High | Light | Requires Rehydration | Moderate |
| Tempeh | High | Moderate | Requires Some Cooking | Moderate |
| Edamame (Dried) | High | Light | Requires Rehydration | Moderate |
Qualitative comparison based on the article research brief. Confirm current product details in the official docs before making implementation choices.
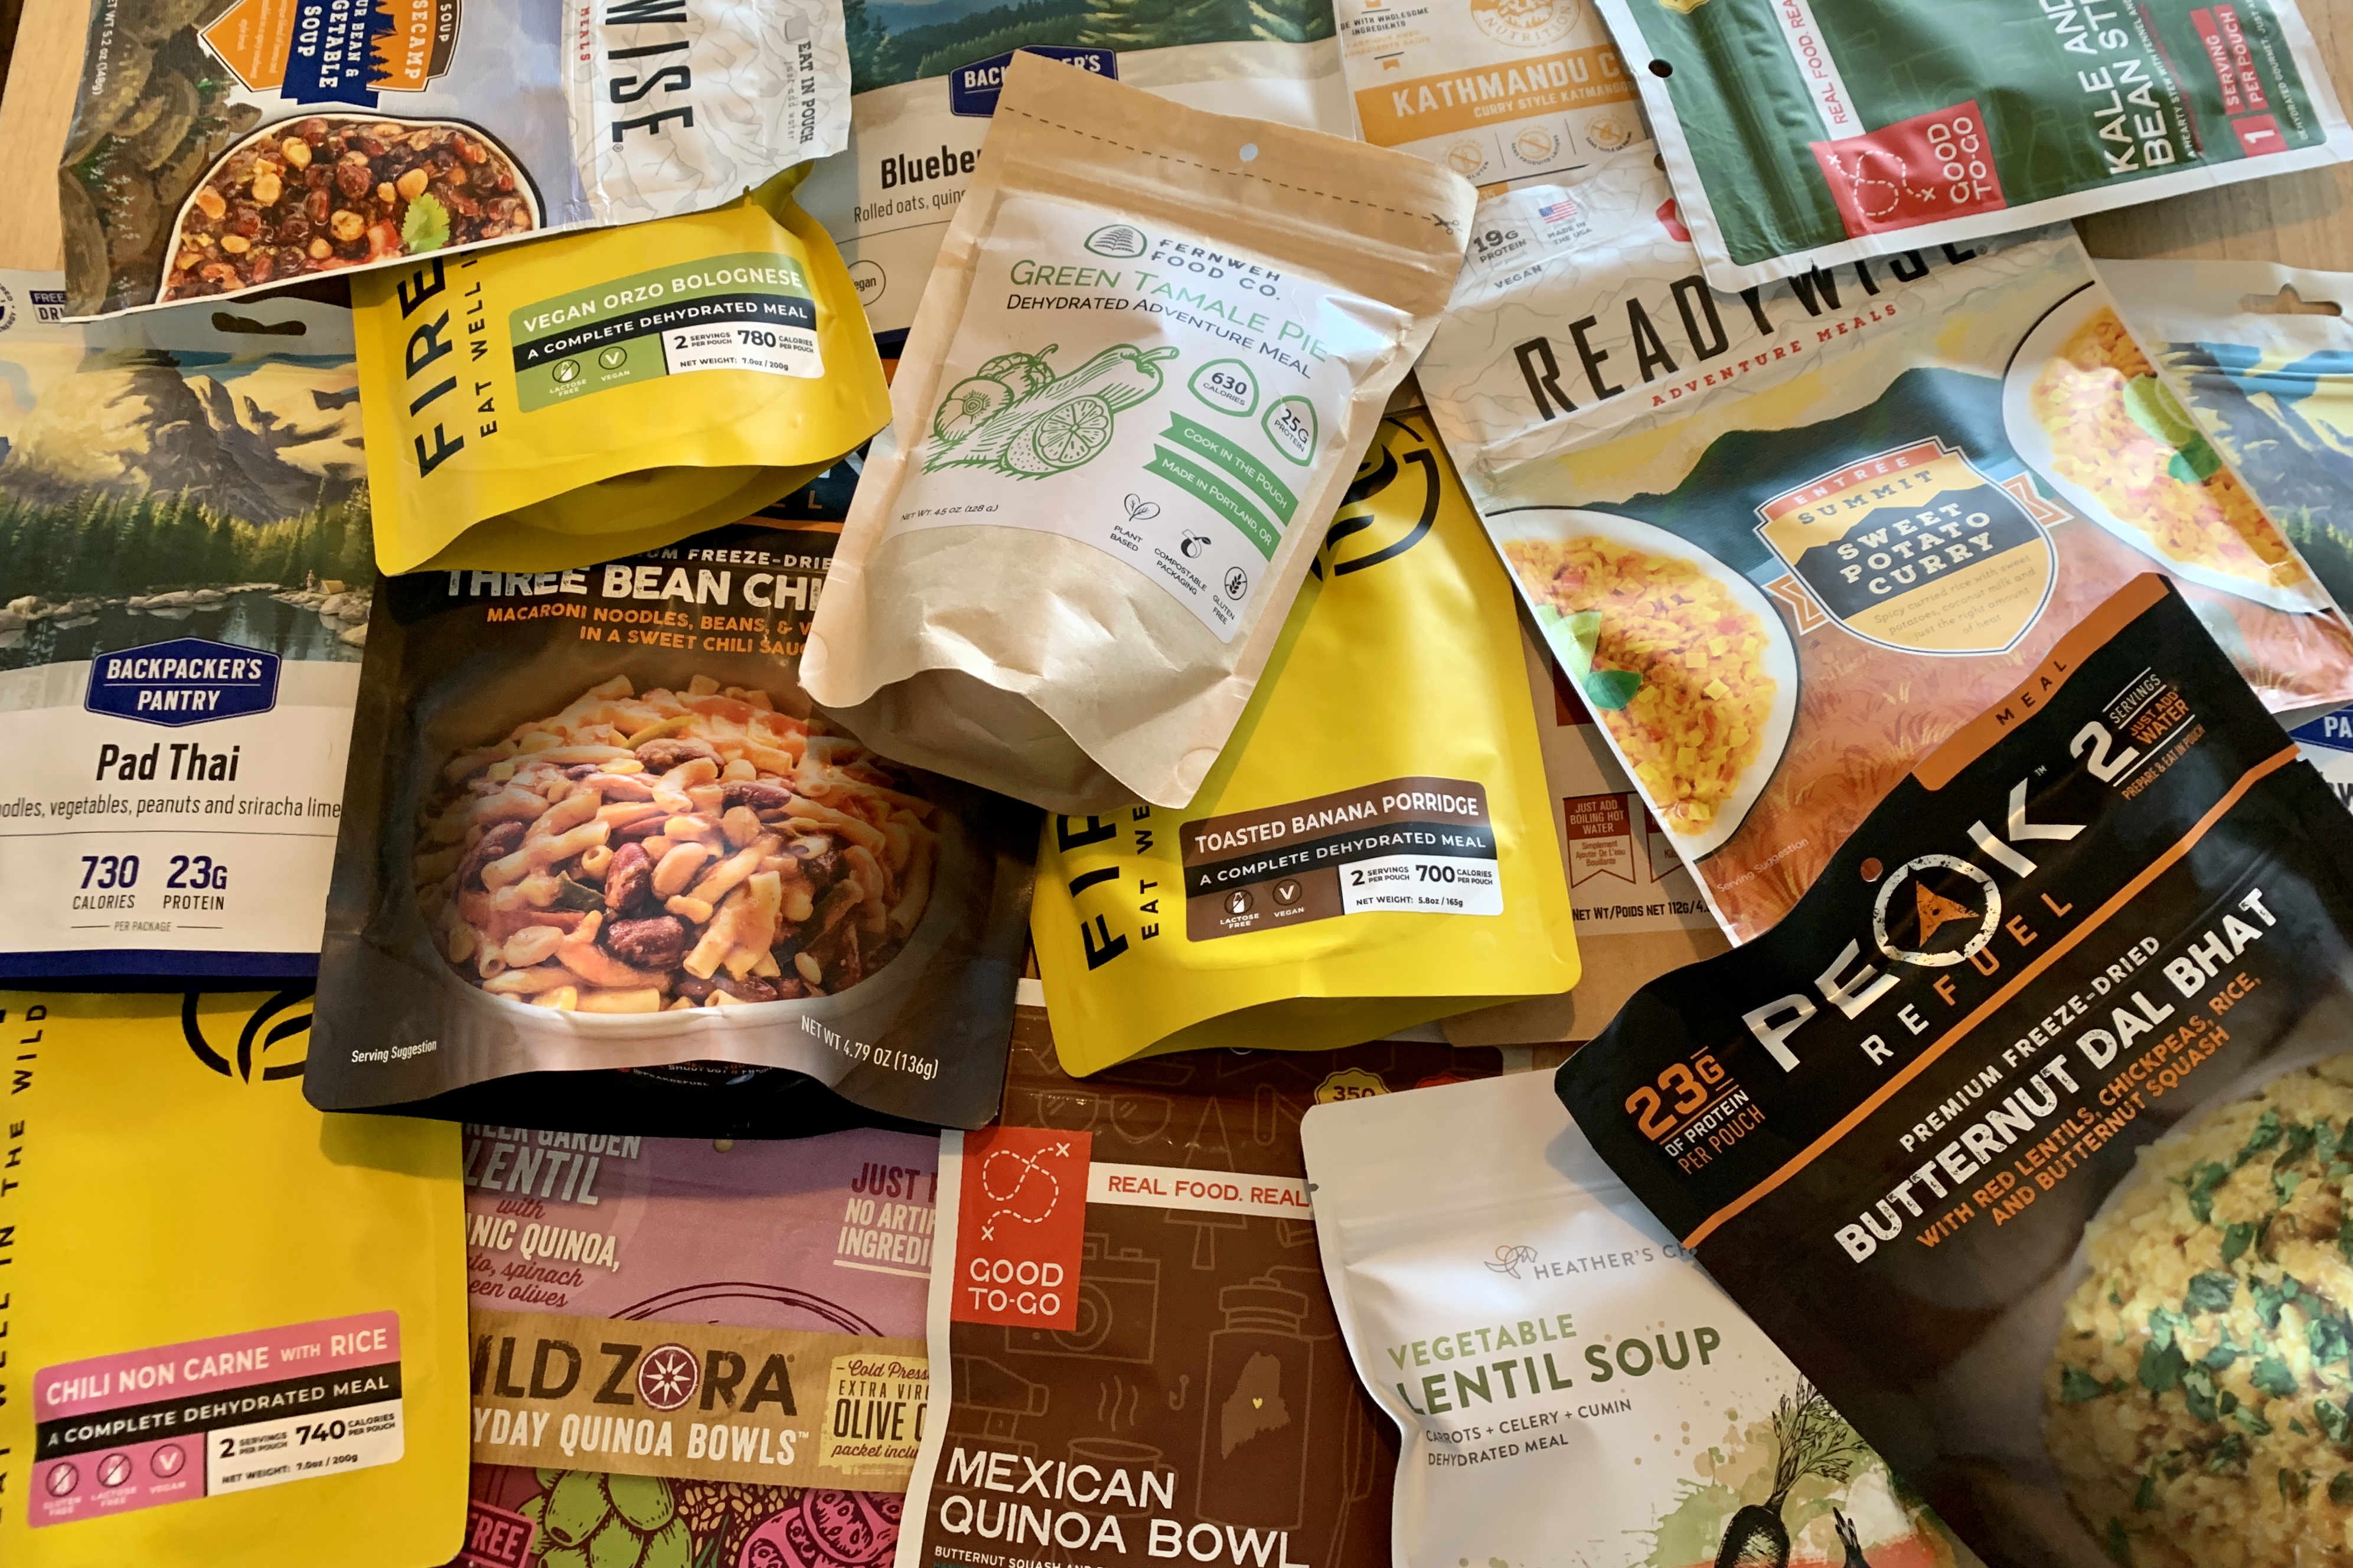
Dehydrating & Repackaging for Weight Savings
Reducing pack weight is crucial for backpacking. Dehydrating your own meals is an effective way to save weight and money. It has transformed my approach to trail nutrition.
Dehydrators vary in price and features. An Excalibur 9-Tray Dehydrator is reliable with a large capacity, while lower-cost options from brands like Nesco are also available. Look for adjustable temperature settings to properly preserve food.
Rehydrating foods on the trail is simple: add boiling water and let sit for 10-20 minutes. Use a lightweight, collapsible bowl. Properly dehydrated food should rehydrate fully with a similar texture to its original state. Experiment with dehydration times to find what works best.
Repackaging store-bought items also saves weight. Transfer nut butters, seeds, and bulky items into lighter containers, such as reusable silicone pouches. Include oxygen absorbers in repackaged food to extend shelf life and prevent spoilage, especially for high-fat foods.
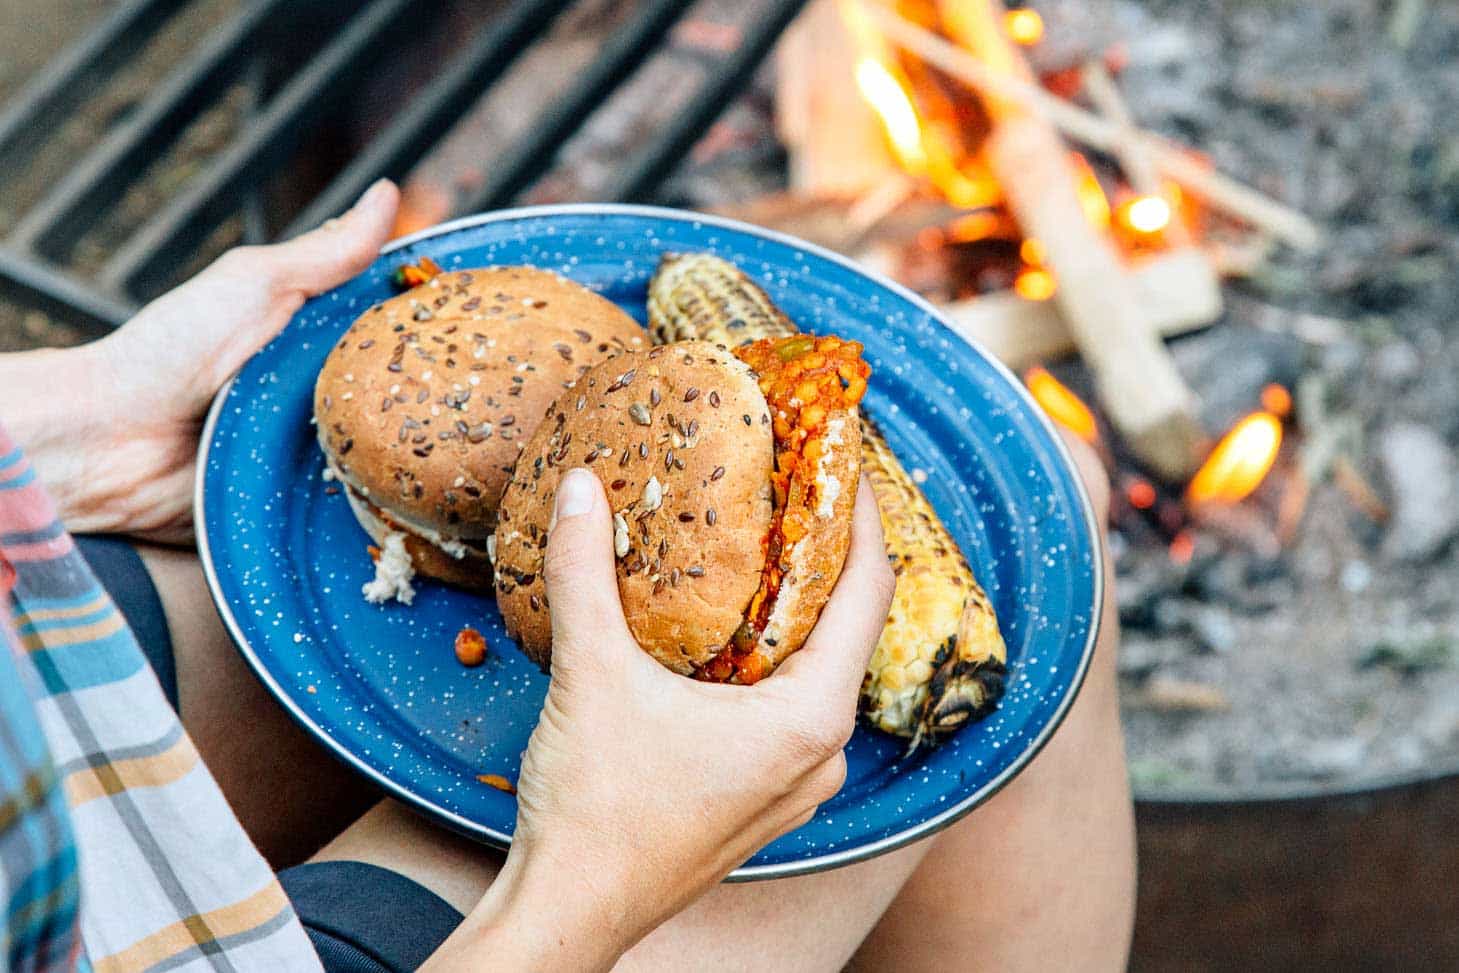
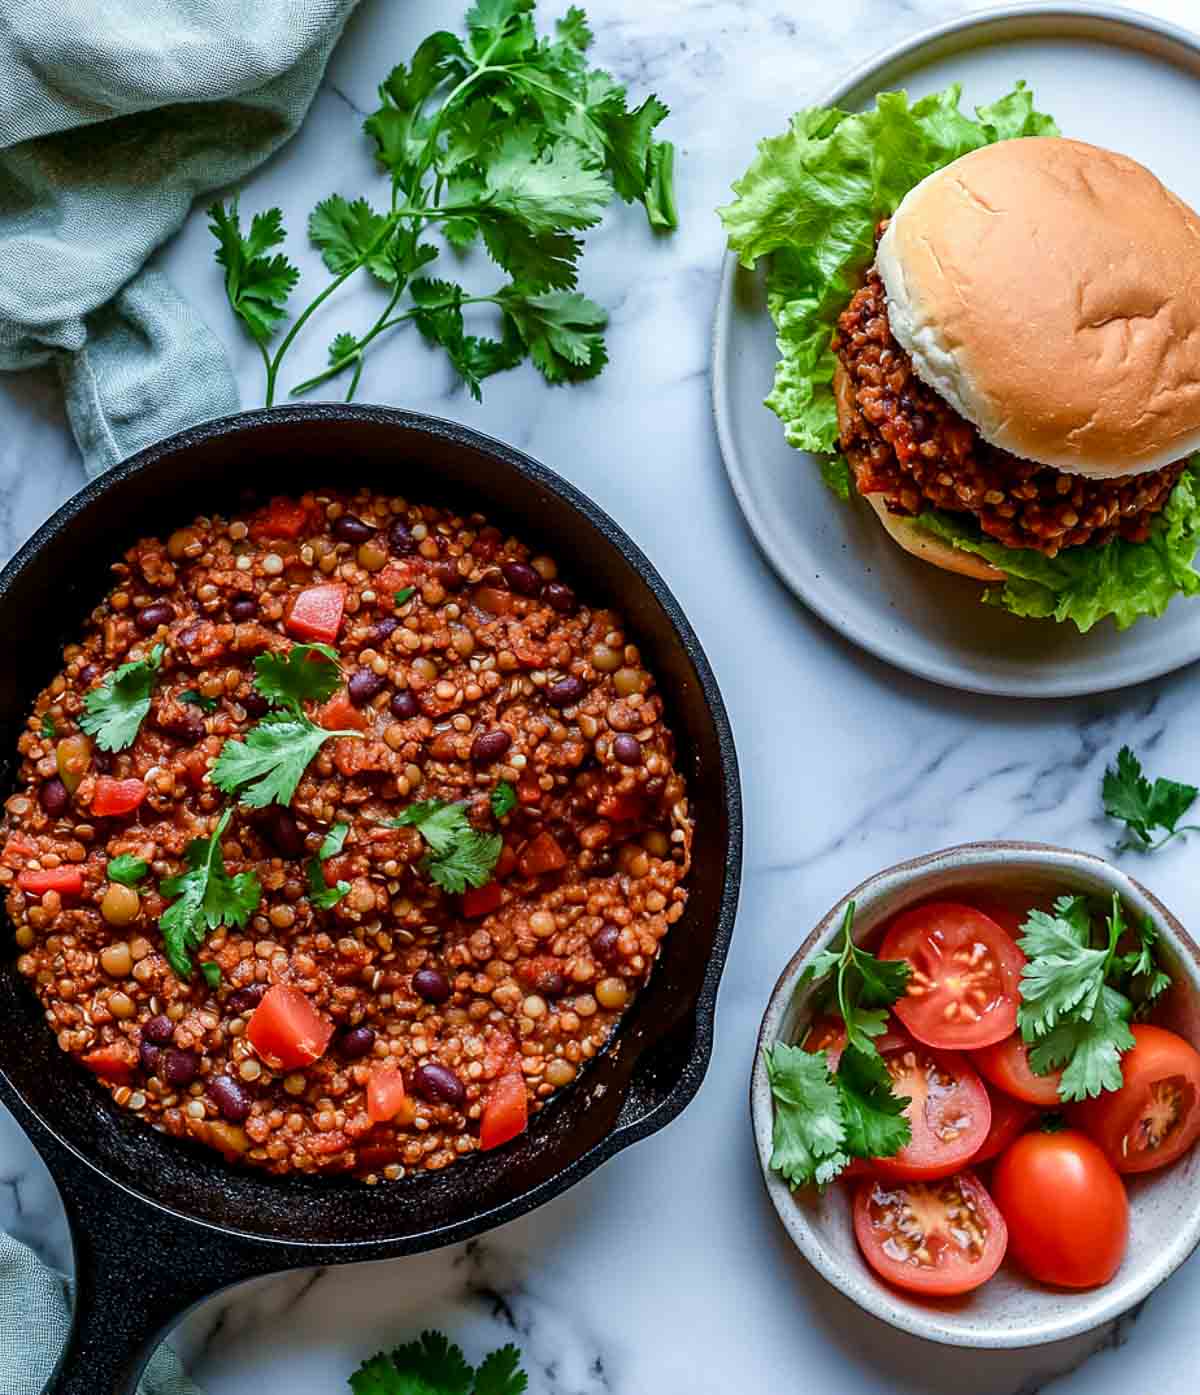
One-Pot Vegan Backpacking Recipes
Simple meals are key on the trail. One-pot recipes
Spicy Peanut Noodles with Tofu: Combine 1 cup cooked quinoa, 1/2 cup crumbled firm tofu, 2 tbsp peanut butter, 1 tbsp soy sauce, 1 tsp sriracha, and 1/4 cup chopped vegetables (broccoli, carrots, peas). Add boiling water to rehydrate and stir well. Cook time: 5 minutes.
Lentil Curry: Combine 1/2 cup red lentils, 1 cup vegetable broth, 1 tbsp curry powder, 1/4 tsp turmeric, and 1/4 cup chopped vegetables (spinach, onions). Bring to a boil, then simmer for 15-20 minutes, or until lentils are tender. Cook time: 20 minutes.
Quinoa & Black Bean Bowl: Combine 1 cup cooked quinoa, 1/2 cup black beans, 1/4 cup salsa, 1 tbsp nutritional yeast, and a sprinkle of cumin. Add boiling water to rehydrate and stir well. Cook time: 5 minutes. I often add a handful of chopped avocado if I'm feeling luxurious – and the weight allows!
Navigating Bear Country: Food Storage
Proper food storage is non-negotiable in bear country. Attracting bears can have serious consequences for both you and the animal. Regulations vary depending on the location, so always check with the local park or forest service before your trip.
Bear Canisters are the most reliable method of food storage in many areas. They’re bear-resistant containers that prevent bears from accessing your food. They can be bulky and heavy, but they offer the highest level of protection. Brands like Garcia and BV500 are popular choices.
Bear Bags are a lighter-weight alternative, but they require proper hanging technique. You need to hang your food at least 10 feet off the ground and 4 feet from any tree trunk. This can be challenging in some environments. I've found that using a rope thrower makes the process much easier.
Scent Control is crucial, regardless of your storage method. Store all food, toiletries, and scented items in your bear canister or bag. Cook and eat at least 200 feet away from your campsite. Pack out all trash and food scraps. Remember, bears have an incredible sense of smell.
- Check local regulations before your trip.
- Use a bear canister if required or recommended.
- Hang food properly if using a bear bag.
- Practice scent control.
Electrolytes & Hydration: Beyond Protein
While protein is vital, maintaining proper hydration and electrolyte balance is equally important. Dehydration and electrolyte imbalances can lead to fatigue, cramping, and even more serious health issues.
I always carry electrolyte tablets or powder. Nuun tablets are a convenient and lightweight option. For a more natural approach, coconut water is a good source of electrolytes. Aim to drink at least 3-4 liters of water per day, depending on the intensity of your activity and the temperature.
Pay attention to your body’s signals. Drink before you feel thirsty, and replenish electrolytes regularly, especially during strenuous activity. Altitude can also affect your hydration needs, so drink even more water at higher elevations.
Protein Standouts: Worth a Closer Look
If I had to narrow down the list to a couple of truly exceptional protein sources for backpacking, I’d highlight Pea Protein and Hemp Seeds. Pea protein is incredibly versatile. It mixes well into oatmeal, smoothies, or even just water. Its neutral flavor makes it easy to incorporate into various meals. Plus, it’s readily available and relatively inexpensive.
Hemp Seeds stand out due to their complete protein profile and healthy fat content. They provide a sustained energy release, which is crucial on long days on the trail. While a bit pricier than some other options, the nutritional benefits justify the cost, in my opinion. They don't require any cooking, making them a perfect snack.
The plant-based protein landscape is constantly evolving. While cultivated protein isn’t widely available yet, it holds potential for future backpacking nutrition. It could offer a highly efficient and sustainable source of protein, but it’s still too early to say how practical it will be for backcountry use.


No comments yet. Be the first to share your thoughts!