
The weight game
Picture this: you’re planning a weekend getaway, eager to escape into nature. But a familiar question creeps in – what are you going to eat? It seems simple, right? But the answer is dramatically different depending on how you’re getting to your campsite. The fundamental difference between food planning for car camping and backpacking boils down to one thing: weight.
Car camping, where you drive right up to your site, allows for significant leeway in what you bring. You can pack a cooler full of fresh ingredients, a cast iron skillet, and even a few luxury items. Backpacking, on the other hand, demands ruthless minimalism. Every ounce counts when you’re carrying everything on your back for miles. This impacts everything from the types of food you choose to how you prepare it.
Don't fall into the trap of thinking 'healthy' camping food is automatically bland or complicated. Both car camping and backpacking can be fueled by delicious, nutritious meals. It just requires a different approach. We'll break down the best strategies for both styles of adventure, so you can focus on enjoying the outdoors, not stressing about your next meal.
Car camping: bring the cast iron
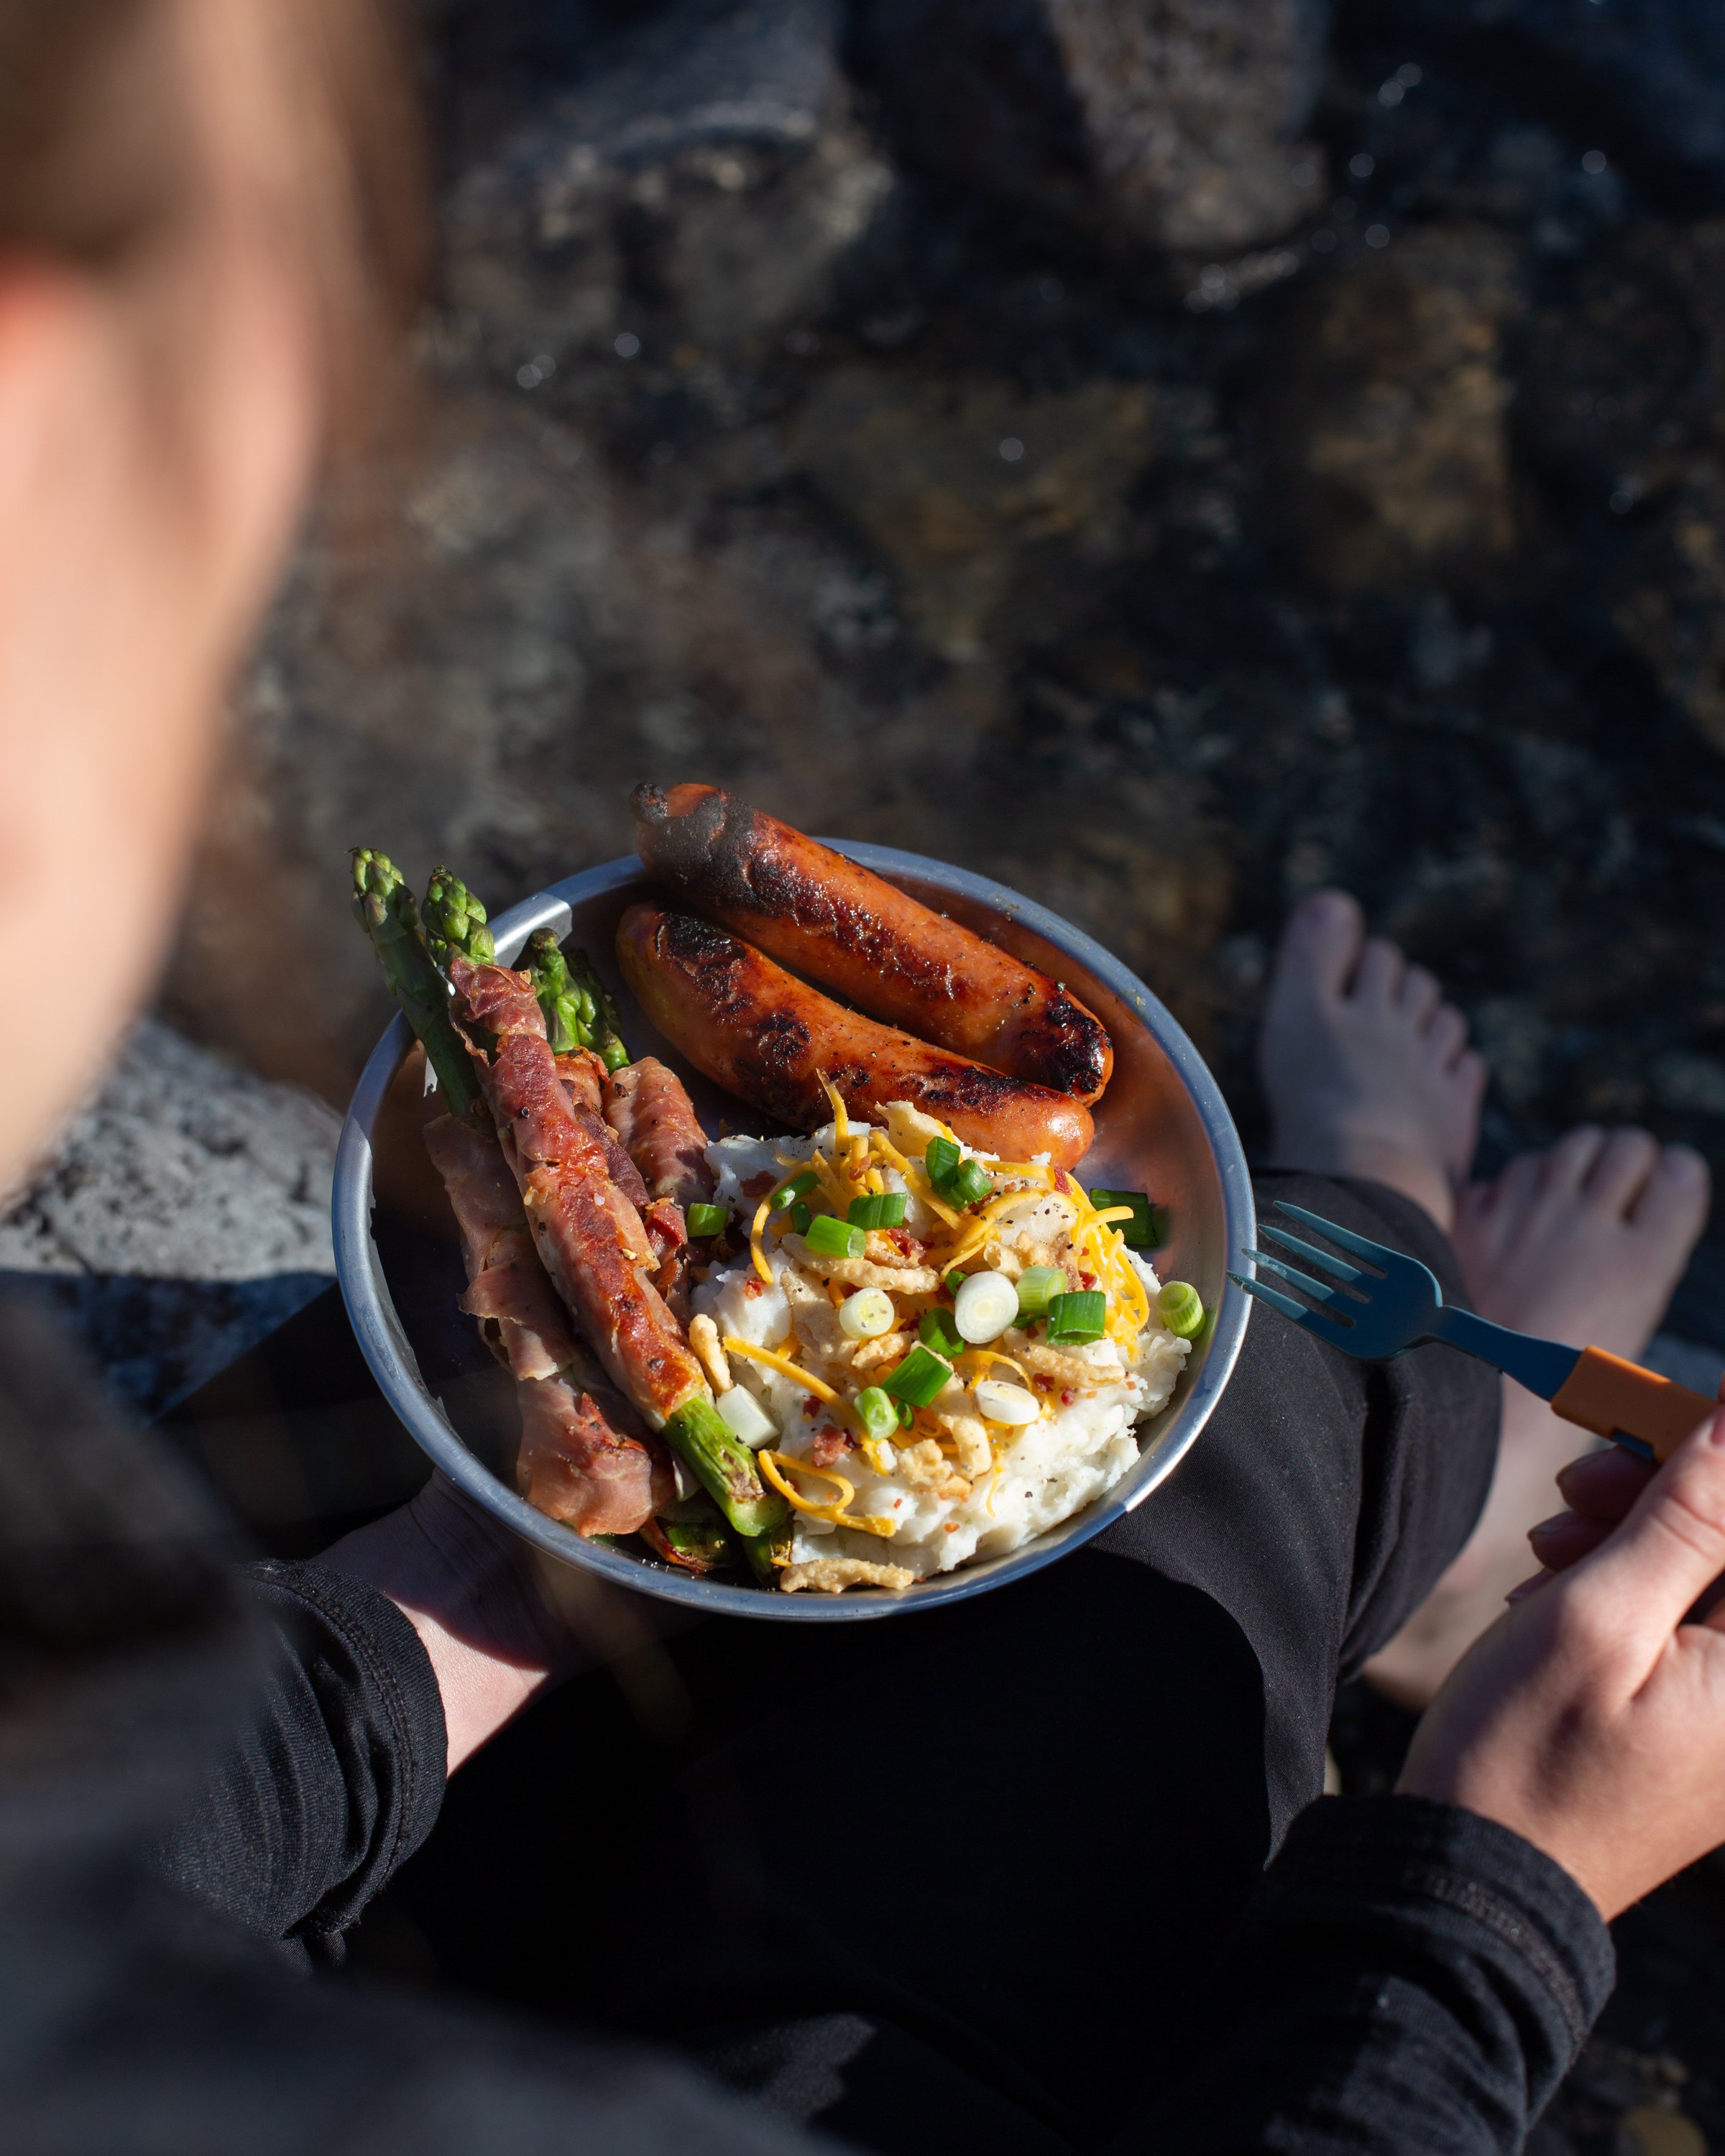
Car camping is where you can truly indulge. The freedom to bring more substantial gear and ingredients opens up a world of culinary possibilities. Forget dehydrated meals and tiny portions – with car camping, you can enjoy hearty, satisfying dishes that feel like a home-cooked meal in the wilderness.
One-pot meals are a car camping staple. Foil packet dinners are ridiculously easy: just toss some protein, veggies, and seasoning in foil, seal it up, and cook it over the campfire or on a camp stove. Pasta dishes are also fantastic – a simple tomato sauce with pre-cooked sausage and some frozen vegetables makes for a quick and filling meal. Don't underestimate the power of a good breakfast burrito either!
I usually pack a simple pancake mix—one cup of mix, one cup of water, an egg, and vanilla. It’s better on a cast iron skillet if you have the space. If you're bringing perishables like eggs or milk, the USDA says to keep that cooler at 40°F or lower. I use block ice because it lasts twice as long as cubes.
Proper cooler management is essential. Pack raw meats at the bottom, sealed tightly, to prevent cross-contamination. Keep drinks separate from food, as they’ll be opened more frequently. And always drain melted ice – standing water can accelerate spoilage. Consider using separate coolers for drinks and food to minimize temperature fluctuations.
Backpacking: calories per ounce
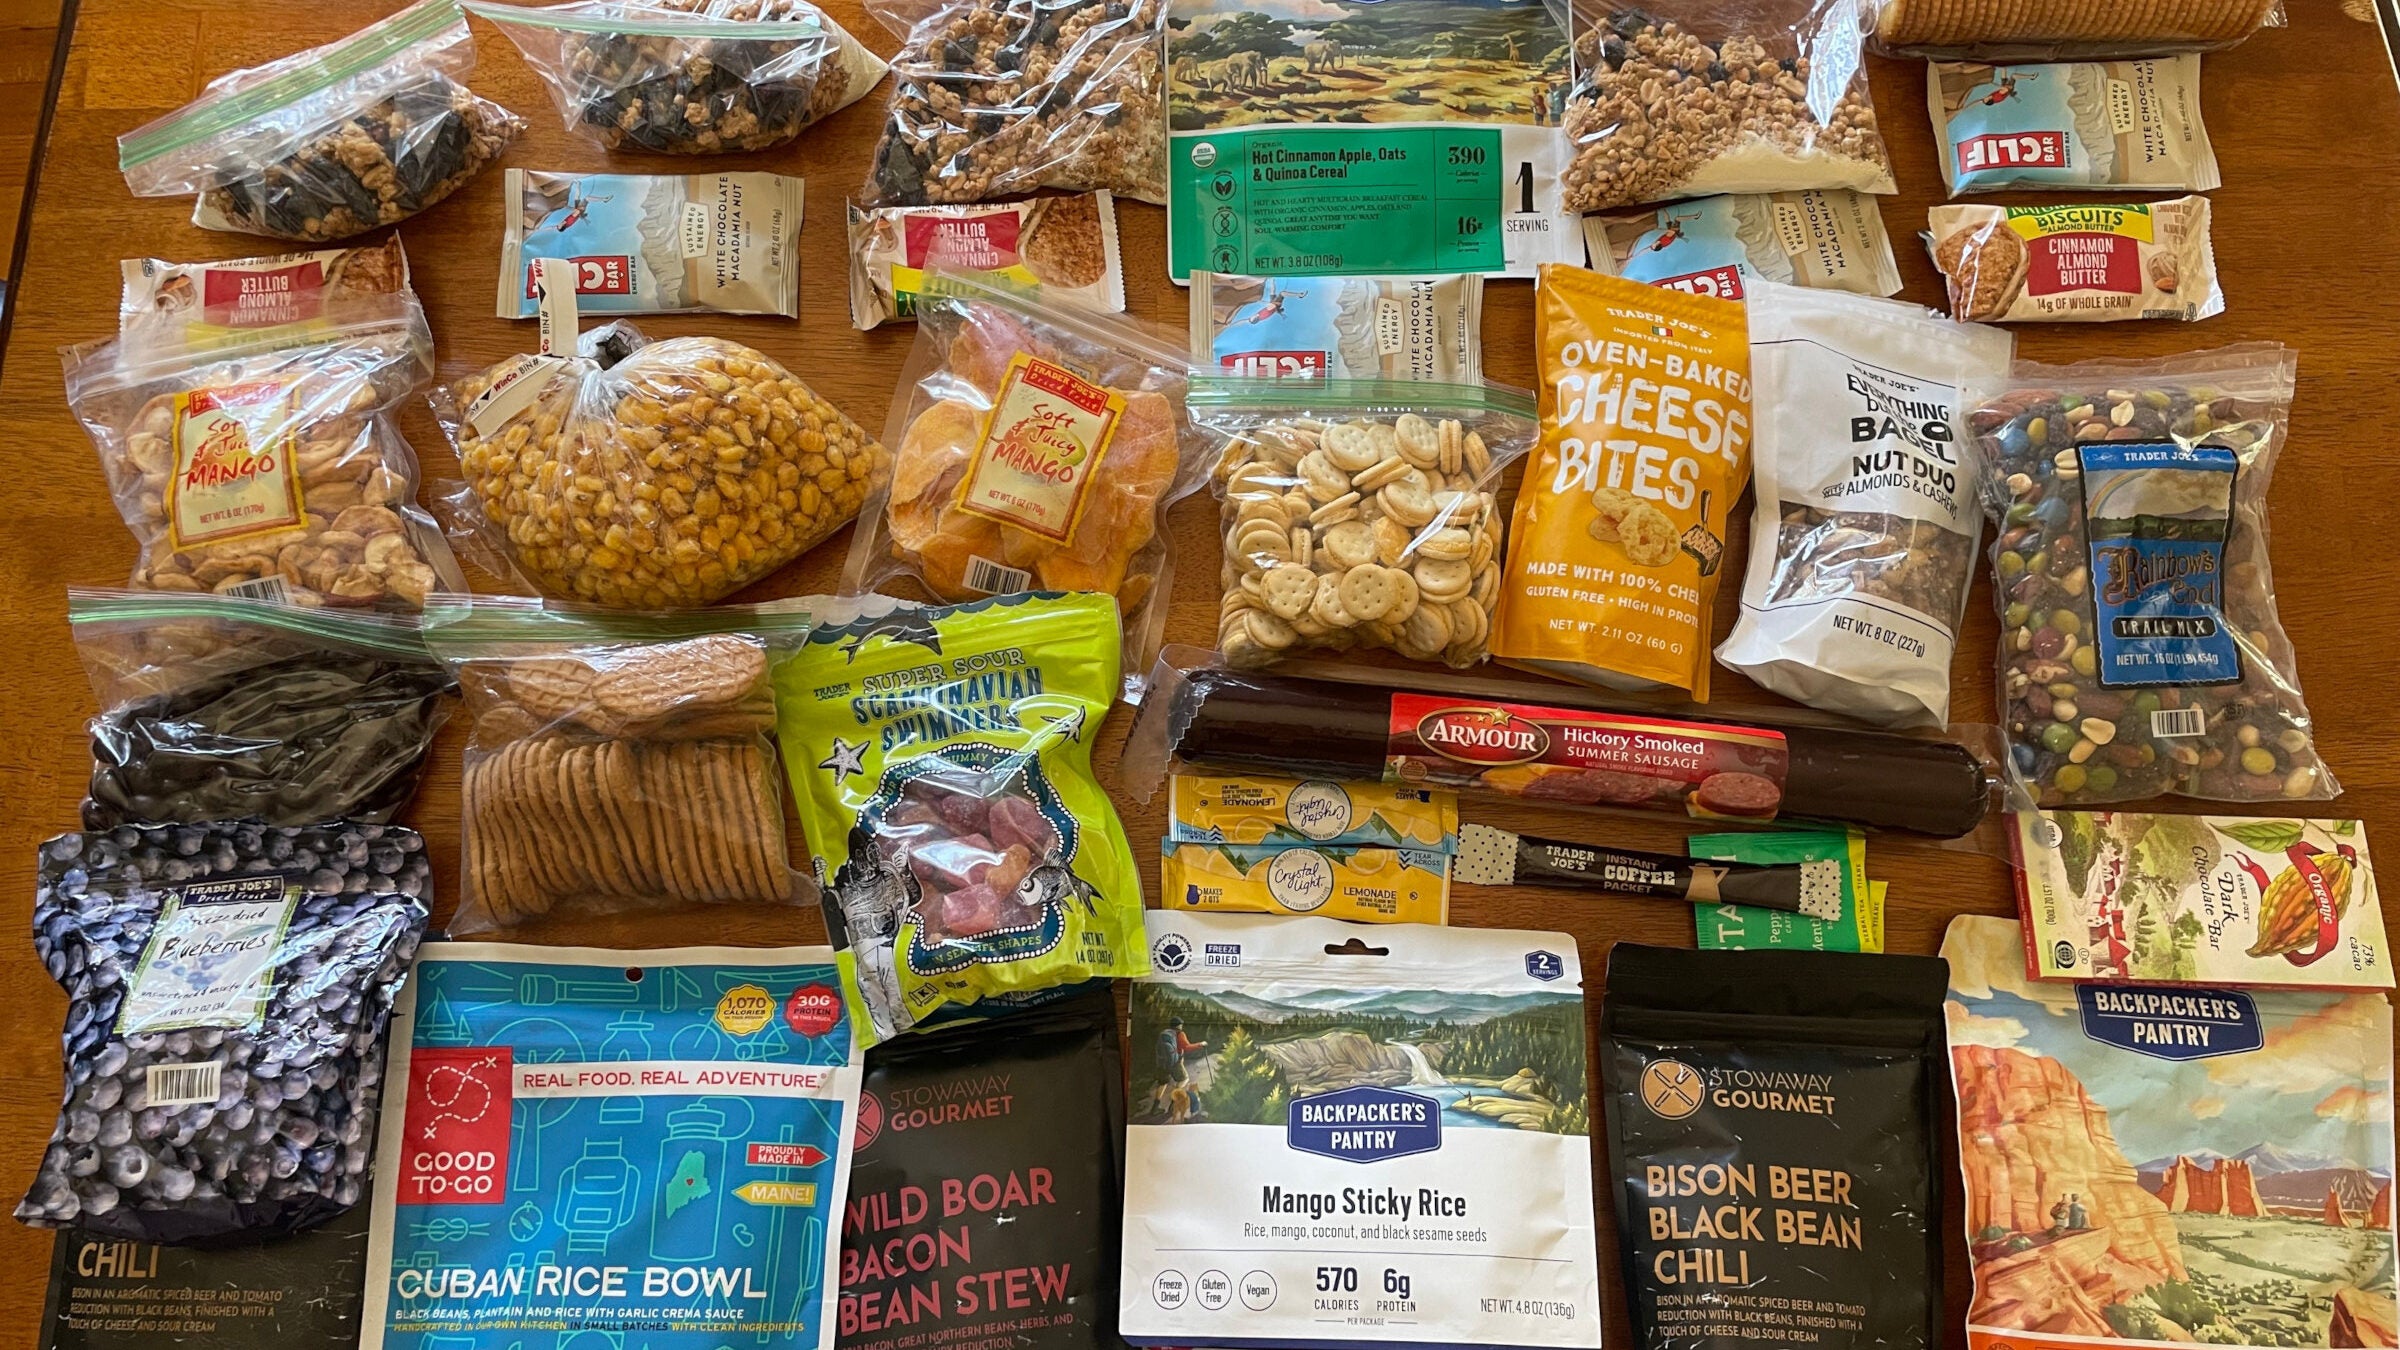
Backpacking food is a different beast altogether. Weight is the ultimate constraint, forcing you to prioritize calorie density and minimize bulk. Forget cast iron skillets and fresh produce – you’re looking at dehydrated meals, energy bars, nuts, and seeds.
Dehydrated meals have come a long way in recent years. Companies like Mountain House and Backpacker’s Pantry offer a wide variety of options, from classic chili to more sophisticated dishes like Pad Thai. They’re lightweight, easy to prepare (just add hot water), and surprisingly tasty. Energy bars are another backpacker's best friend – look for bars with a good balance of carbohydrates, protein, and healthy fats. Clif Bars and ProBars are popular choices.
Pack electrolyte tablets. Drinking three liters of plain water a day without replacing salt is a recipe for a headache. Backpacking food is rarely a gourmet experience, but after twelve miles, a bag of dehydrated beef stroganoff tastes better than a five-star steak anyway.
The cost of backpacking food can add up quickly. Dehydrated meals can easily cost $8-$12 each, and energy bars aren’t cheap either. Planning your meals carefully and making some of your own snacks (like trail mix) can help keep costs down. Consider making your own dehydrated meals, too, if you have the time and equipment.
Featured Products

Freeze-dried meal · Contains beef and marinara sauce · Two servings per pouch
This freeze-dried meal offers a hearty and convenient option for backpackers, providing a balanced meal with protein and carbohydrates.

Freeze-dried vegetarian lasagna · 28 grams of protein per serving · Suitable for emergency food supplies
A protein-rich, vegetarian freeze-dried meal that is lightweight and easy to prepare, making it an excellent choice for sustained energy on the trail.
![PROBAR GO Energy Bars - Mixed Berry - Gluten-Free, Non-GMO, Whole-Food Ingredient Snack Bars (12 Count) [Amazon-developed Certification] Compact by Design](https://m.media-amazon.com/images/I/61dXde5YM7L._AC_UL960_QL65_.jpg)
Gluten-free and non-GMO energy bars · Made with whole-food ingredients · Compact design for portability
These energy bars provide a convenient, gluten-free, and non-GMO source of sustained energy, perfect for quick refueling during strenuous activities.

Energy bars made with organic oats · Chocolate brownie flavor · Non-GMO ingredients
A classic energy bar option, CLIF Bars offer a blend of carbohydrates and protein from organic oats to fuel outdoor adventures.

Electrolyte drink mix with BCAAs · Aids in faster recovery · 30 single-serving packets
These hydration packets are designed to replenish electrolytes and support muscle recovery with BCAAs, crucial for maintaining performance during multi-day trips.
As an Amazon Associate I earn from qualifying purchases. Prices may vary.
Keeping the bears away
Food safety is paramount, regardless of whether you’re car camping or backpacking. The USDA (fsis.usda.gov) emphasizes the importance of keeping perishable foods cold and preventing cross-contamination. For car camping, this means maintaining a cooler temperature of 40°F or below. Use a thermometer to check the temperature regularly.
Proper food storage is also crucial to prevent attracting animals. In bear country, this is especially important. Bears have an incredible sense of smell and will be drawn to any food odors. Always store food in bear-resistant canisters, or hang it from a tree at least 10 feet off the ground and 4 feet from the trunk.
Regulations regarding food storage vary by location. Some parks require the use of bear canisters, while others allow for hanging food. Always check the local guidelines before your trip. It's better to be overprepared than to risk an encounter with a bear. Remember to pack out all trash – even seemingly harmless items like food wrappers can attract animals.
- Keep the cooler at 40°F or lower to avoid spoilage.
- Store raw meats at the bottom of the cooler.
- Use bear-resistant canisters or hang food properly in bear country.
- Check local regulations regarding food storage.
- Pack out all trash.
Vegan & Vegetarian Adventures: Plant-Powered Fuel
Plant-based camping requires a little extra planning, but it's entirely achievable. The biggest challenge is ensuring you get enough protein and calories. It's easy to fill up on carbohydrates, but you need adequate protein to support muscle recovery and energy levels.
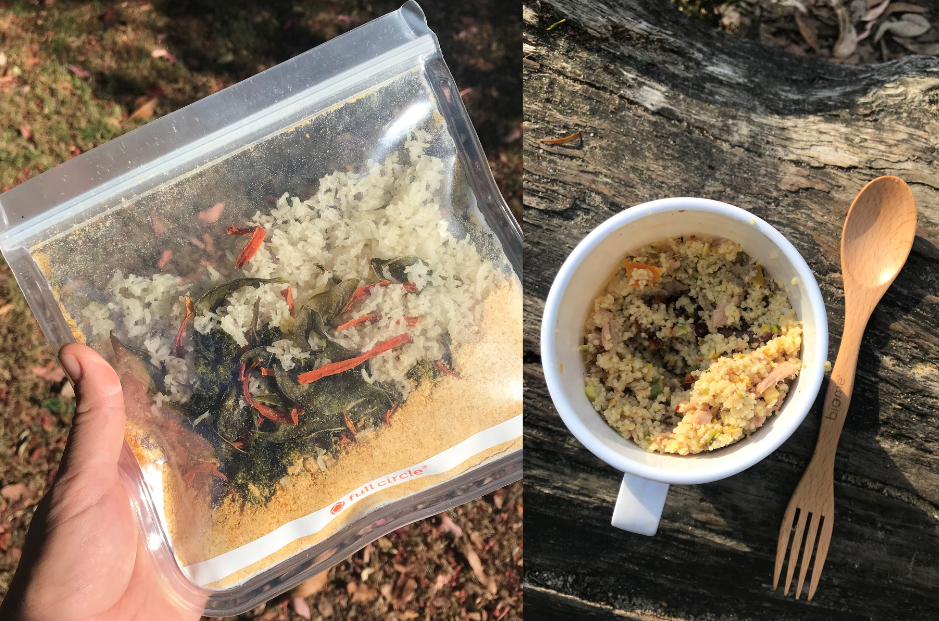
Lentils, beans, and tofu are excellent sources of plant-based protein that travel well. Consider bringing pre-cooked lentils or beans to save time and fuel. Tofu can be dehydrated and rehydrated at the campsite. Nuts and seeds are also a great source of protein and healthy fats.
Here’s a hearty lentil stew recipe that works well for both car camping and backpacking (reduce water for backpacking): Sauté 1 onion and 2 cloves of garlic in olive oil. Add 1 cup of red lentils, 4 cups of vegetable broth, 1 can of diced tomatoes, and your favorite spices (cumin, coriander, turmeric). Simmer for 20-25 minutes, or until lentils are tender. For backpacking, use a dehydrated vegetable broth and pre-cooked lentils to reduce weight.
Other plant-based options include quinoa, couscous, and pasta. These can be easily cooked at the campsite and provide a good source of carbohydrates. Don't forget to pack plenty of fruits and vegetables – they’re a great source of vitamins and minerals. Plant-based protein powders can also be a convenient way to boost your protein intake.
Gear Up: Essential Food Prep Tools
Having the right tools can make camping meal prep a breeze. A lightweight stove is essential for cooking meals at the campsite. Jetboil stoves are popular for backpacking, as they boil water quickly and efficiently. MSR PocketRocket 2 stoves are another great option.
Cookware is also important. A titanium pot or pan is lightweight and durable. A spork is a versatile utensil that can be used for eating and cooking. A water filter or purification tablets are essential for ensuring you have access to safe drinking water. Sawyer Squeeze water filters are a popular choice.
Food storage containers are crucial for keeping your food organized and protected. Silicone food storage bags are lightweight and reusable. A multi-tool, like a Leatherman, is incredibly useful for a variety of tasks, including food prep. You don’t need to buy everything at once, but investing in a few quality items can make a big difference.
What is the biggest challenge you face when planning camping meals?
Your feedback helps us tailor our 2026 food planning strategies to better serve the community. Select the factor that most impacts your preparation process.
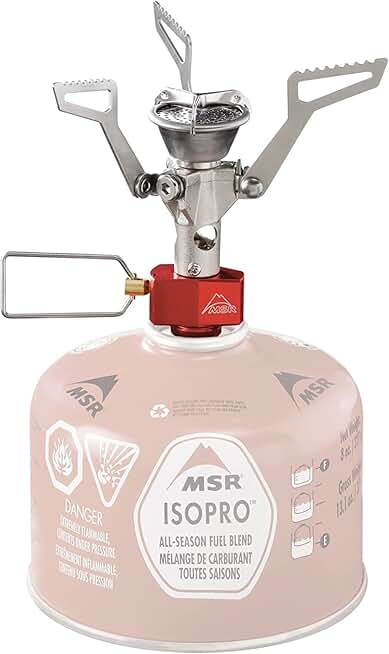
MSR PocketRocket 2 Ultralight Camping and Backpacking Stove
- Ultralight and compact design
- Boils 1 liter of water in just 3.5 minutes
- Durable construction for reliable performance
The MSR PocketRocket 2 is an essential piece of gear for any backcountry meal prep, offering a lightweight and efficient way to cook your pre-prepared meals on the trail.
View on Amazon →As an Amazon Associate I earn from qualifying purchases.

No comments yet. Be the first to share your thoughts!