
What makes a good camping meal
Choosing the right food for the trail comes down to a simple trade-off: maximum energy for minimum weight. A good vegan camping meal is gear that performs. When you are miles from a grocery store, every ounce in your pack matters, and every minute spent cooking is time away from the trail.
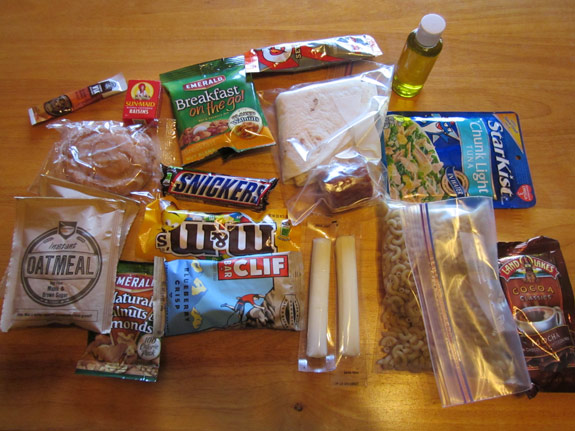
To keep your pack light and your energy high, aim for calorie density. Look for foods that pack more than 100 calories per ounce. Nuts, seeds, olive oil, and dried legumes are your best friends here. They provide sustained energy without the bulk of water-heavy fresh produce.
Prep time is another critical factor. The best trail meals require minimal steps: usually just adding boiling water or a quick stir. Avoid recipes that demand chopping, sautéing, or multiple pans. If you can eat it cold, even better. No-cook options like trail mix, nut butter wraps, or rehydrated grain bowls save fuel and reduce the risk of burning your dinner.
Finally, consider the cleanup. A good camping meal minimizes dishes. If you can eat it straight from the pot or a single bowl, you are already winning. This approach keeps your campsite clean, reduces the weight of your dishware, and lets you get back to the trail faster.
Burrito Bowl with Quick Rice
This burrito bowl replaces heavy stews with a lightweight, high-energy dinner that cooks in under twenty minutes. The strategy relies on shelf-stable proteins and quick-cooking grains to keep your pack weight down without sacrificing satiety. By swapping delicate lettuce for sturdy cabbage and using pre-cooked rice, you minimize prep time and cleanup at camp.
The flavor profile comes from simple, shelf-stable seasonings and fresh additions like avocado and tomatoes that hold up well in a cooler. This meal provides a balanced mix of carbohydrates for energy and plant-based protein for recovery after a long day on the trail.
Wash and chop your vegetables at home if possible, or pack them in rigid containers to prevent crushing. Cabbage is ideal because it travels well without wilting like lettuce. Drain your beans and rinse them to reduce sodium and improve digestibility.
Bring your water to a rolling boil. Instant brown rice takes about 5-7 minutes to rehydrate. Use a pot with a tight lid to retain heat and speed up the process. Do not drain the water; the rice absorbs it all.
Add your dry spices directly to the beans in the pan. Heating them together allows the flavors to meld. This step takes only 3-5 minutes, leaving plenty of time to eat while the rice finishes.

Combine the hot rice and beans in your bowl. Add the fresh cold toppings last to maintain their texture. The contrast between the warm grains and cool vegetables makes this meal refreshing and satisfying.
overnight oats with nut butter
Skip the stove for breakfast with this zero-cook, high-energy staple. Overnight oats are a vegan camping favorite because they require no heat, minimal cleanup, and provide sustained fuel for morning hikes. The combination of rolled oats, chia seeds, and plant milk creates a thick, pudding-like texture that holds up well in a mason jar or reusable container, even in cooler temperatures.
The secret to keeping this meal lightweight is pre-measuring dry ingredients into a single zip-top bag or small container. You only need to add water or milk at camp. Nut butter—whether almond, peanut, or cashew—adds crucial healthy fats and protein to keep you full until lunch. A drizzle of maple syrup or a handful of dried fruit adds natural sweetness without the weight of syrup bottles.
To prepare, mix 1/2 cup rolled oats, 1 tablespoon chia seeds, and 1 tablespoon powdered milk (optional for creaminess) in your jar. Pour in 3/4 cup of your chosen liquid and stir well. Seal the lid tightly and let it sit in the cool of your tent or pack for at least four hours, or overnight. The oats absorb the liquid and soften, eliminating the need for cooking.
Just before eating, stir in 1 tablespoon of nut butter and your preferred toppings. The cold temperature actually helps the nut butter stay distinct rather than melting into the oats too quickly. This method keeps your pack light, your breakfast simple, and your energy levels steady for the day ahead.
Combine 1/2 cup rolled oats, 1 tbsp chia seeds, and a pinch of salt in a small bag. This saves time and space at camp.
Pour the dry mix into your jar, add 3/4 cup water or plant milk, and stir until fully incorporated.
Seal the jar and let it sit in a cool place for at least 4 hours or overnight. The oats will soften and absorb the liquid.
Just before eating, mix in 1 tbsp nut butter and any dried fruit or sweetener. Eat cold or warm slightly if you have a stove.
Pasta with sun-dried tomato pesto
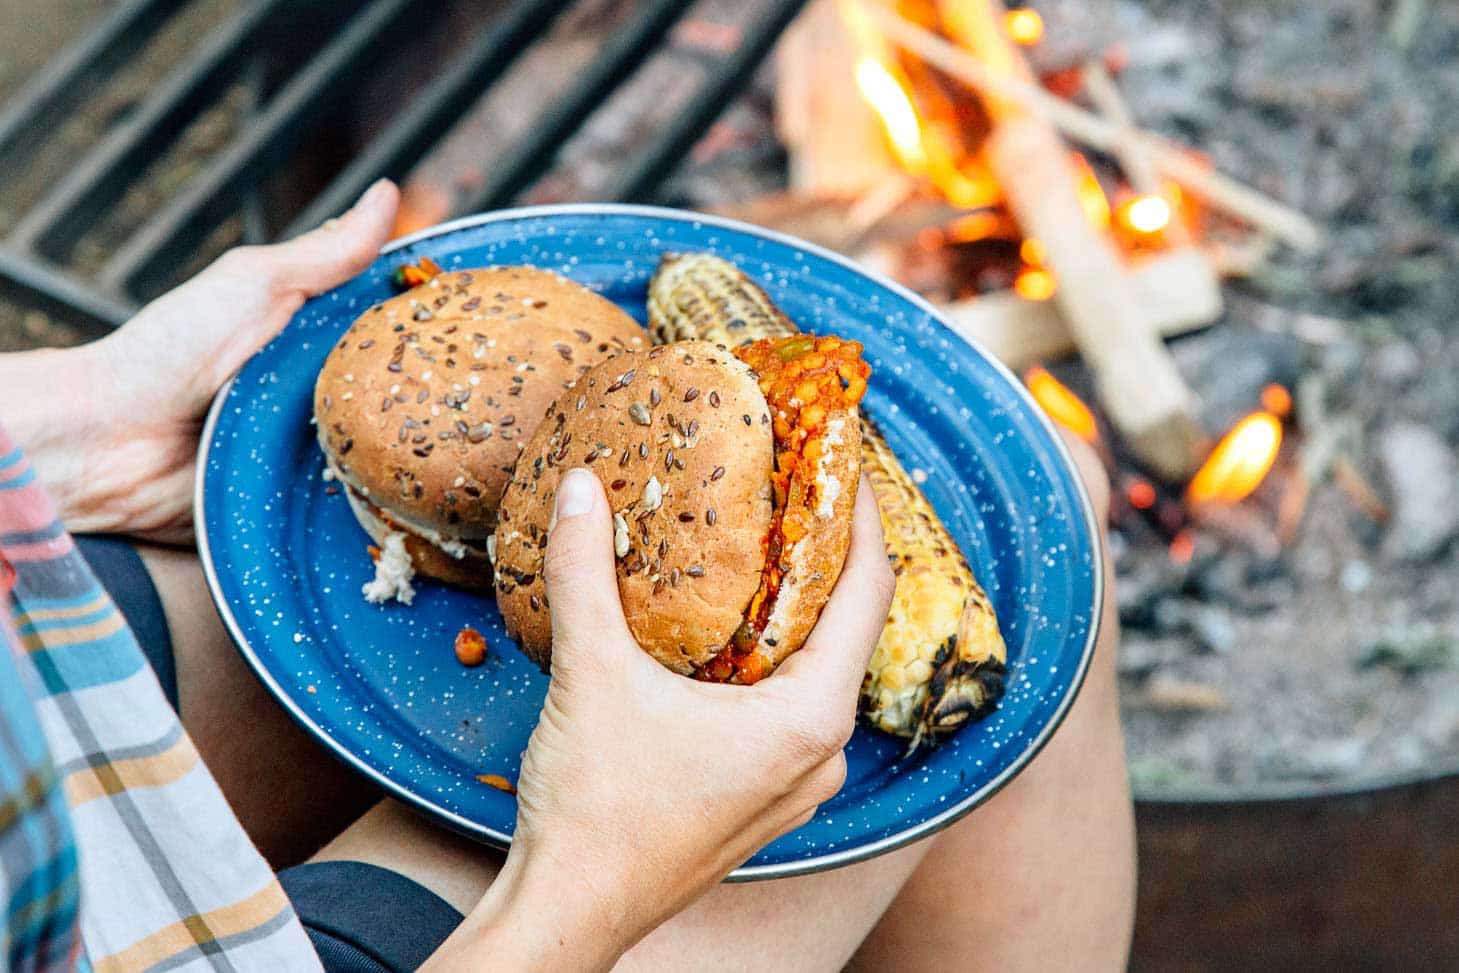
Dinner on the trail doesn't have to mean cold beans or dry crackers. This pasta dish brings the comfort of a warm meal to the campsite using only lightweight, shelf-stable ingredients. Dried pasta shrinks significantly when cooked, making it one of the most calorie-dense options for your pack. Paired with a rich, savory sauce, you get a flavor that feels indulgent without the weight of fresh sauces or heavy dairy.
The sun-dried tomato pesto is the star here. You can buy it pre-made in small jars or squeeze tubes, or pack dry pesto powder and rehydrate it with boiling water. This sauce clings to the noodles, ensuring every bite is flavorful even if the portion size is modest. It pairs perfectly with a handful of dried vegetables or a squeeze of lemon juice for brightness.
Cooking this meal is straightforward and requires minimal cleanup. Since the pasta and sauce are lightweight, you can pack them in a single resealable bag to save space. When you reach your campsite, you only need your stove and a single pot to create a hot, satisfying dinner that will help you recover energy after a long day of hiking.
Bring 2 cups of water to a rolling boil in your pot. Use the exact amount needed for your pasta portion to save fuel and time.

Add 2 ounces of dried pasta to the boiling water. Stir occasionally to prevent sticking. Cook for 8-10 minutes, or until al dente, then drain any excess water.
Remove the pot from heat. Stir in 2 tablespoons of sun-dried tomato pesto while the pasta is still hot. The residual heat will melt the sauce and coat the noodles evenly.
Eat directly from the pot to save on dishwashing. Add a pinch of salt or pepper if desired, and enjoy your warm, high-energy meal.
Essential packing checklist
The difference between a delicious trail dinner and a frustrating mess often comes down to preparation. Before you tie your boots, audit your gear against this specific list. You need tools that are durable, lightweight, and capable of handling vegan ingredients without cross-contamination.
Gear and Prep Essentials
- Lightweight stove and fuel: Choose a canister stove for simplicity. Bring one extra fuel canister per three days of travel.
- Collapsible pot (750ml–1L): Essential for boiling water for dehydrated meals and rehydrating beans. A single-wall titanium pot saves the most weight.
- Spork and knife: A durable spork for eating and a small serrated knife for cutting fruit or opening pouches.
- Water filtration: A squeeze filter or purification tablets. Clean water is non-negotiable for rehydrating meals safely.
- Biodegradable soap and sponge: For cleaning your pot. Leave no trace by straining food particles and packing them out.
- Ziplock bags: For organizing dry ingredients and storing leftovers. Double-bag wet items to prevent leaks.
- Lighter and fire starter: As a backup to your stove. Store in a waterproof container.
Pre-Trip Meal Prep
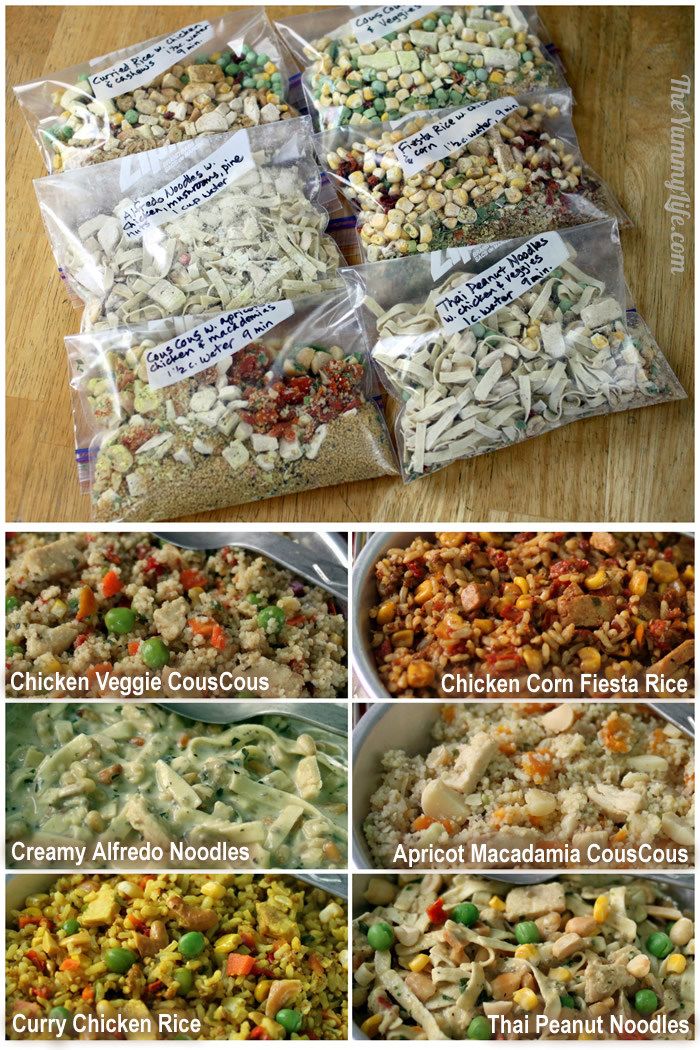
Prepping at home reduces waste and cooking time on the trail. Dehydrate fruits and vegetables before they spoil. Portion dry ingredients like rice, lentils, and spices into individual bags. Label each bag with the meal name and cooking instructions so you don't have to guess in the dark. This system turns a complex vegan meal into a simple boil-and-eat process when you reach camp.
Common vegan camping mistakes
The trail doesn’t forgive poor planning. A lightweight pack means every gram counts, and vegan diets often require more prep to hit calorie targets than omnivorous ones. Skipping a few minutes of pre-trip organization can turn a fun weekend into a hungry, heavy struggle.
Underestimating Calorie Density
Vegan plant foods are often high in fiber and water volume, which keeps you full but low in energy. A large bowl of lentils might satisfy hunger but leave you burning calories faster than you can replace them. Prioritize calorie-dense ingredients like nut butters, olive oil, nuts, and seeds. These small additions add hundreds of calories without adding significant weight or bulk to your pack.
Heavy or Single-Use Packaging
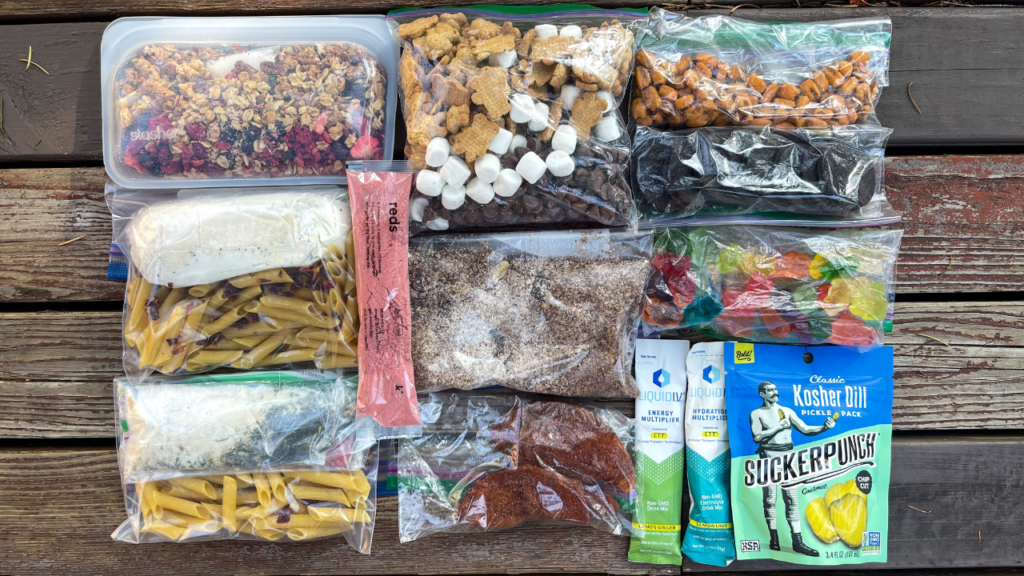
Bringing full-sized commercial packages is a common error. Not only does this add unnecessary weight, but it also creates trash that you must carry out. Transfer dry goods like oats, spices, and protein powder into reusable silicone bags or small containers before you leave. This reduces bulk, prevents spills in your pack, and makes portion control much easier.
Forgetting Essential Gear
It’s easy to pack the food but forget the tools. Ensure you have a lightweight stove, fuel, a pot, and a spork or utensil set. Don’t forget a biodegradable soap and a small scrubber for cleaning. A missing lighter or water filter can halt your meal prep entirely.
How do I store vegan camping meals without refrigeration? Keep perishables in a cooler with ice packs for the first day, then switch to shelf-stable staples. Canned beans, rice pouches, and dehydrated grains are your best friends. For fresh items like cabbage or carrots, pack them whole and chop them right before cooking to maximize freshness.
What is the lightest vegan food for backpacking? Dehydrated meals and freeze-dried options offer the best weight-to-calorie ratio. You can also make your own lightweight meals by dehydrating soups, chili, or pasta sauces at home. These reduce water weight significantly, making them easy to carry on long trails.
How can I get enough protein on a vegan camping trip? Focus on calorie-dense, high-protein foods that don't require heavy packing. Nuts, seeds, peanut butter, and lentils are excellent sources. A simple burrito bowl with rice, canned black beans, and avocado provides a balanced, protein-rich meal that is easy to prepare over a campfire.
No comments yet. Be the first to share your thoughts!